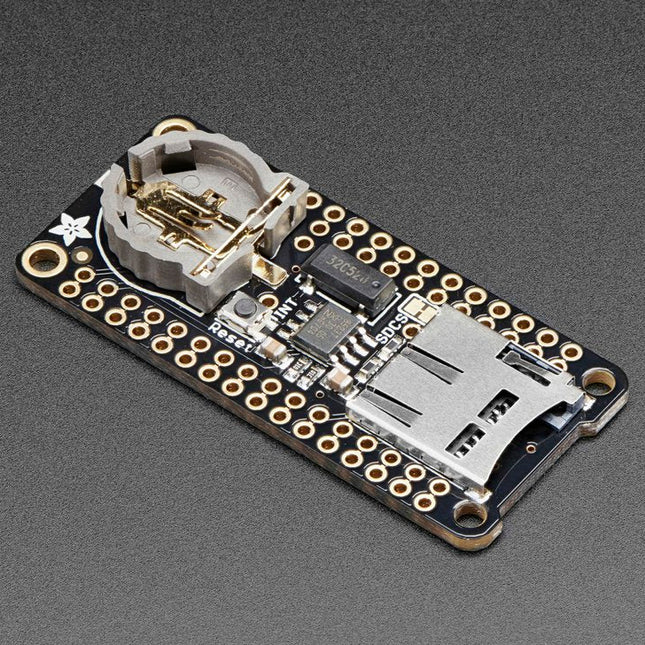
This FeatherWing will make it easy to add data logging to any Feather Board you might have. You get both an I²C real-time clock (PCF8523) with 32 KHz crystal and battery backup, and a microSD socket that connects to the SPI port pins (+ extra pin for CS). Note: FeatherWing doesn't come with a microSD card. A CR1220 coin cell is required to use the RTC battery-backup capabilities. If you're not using the RTC part of the FeatherWing, a battery is not required. To talk to the microSD card socket Arduino's default SD library is recommended. Some light soldering is required to attach the headers onto the Wing. Pinouts Power pins On the bottom row, the 3.3 V (second from left) and GND (fourth from left) pin are used to power the SD card and RTC (to take a load off the coin cell battery when main power is available) RTC & I²C Pins In the top right, SDA (rightmost) and SCL (to the left of SDA) are used to talk to the RTC chip.
SCL - I²C clock pin to connect to your microcontroller's I2C clock line. This pin has a 10 kΩ pull-up resistor to 3.3 V
SDA - I²C data pin to connect to your microcontroller's I2C data line. This pin has a 10 kΩ pull-up resistor to 3.3 V There's also a breakout for INT which is the output pin from the RTC. It can be used as an interrupt output or it could also be used to generate a square wave. Note that this pin is an open drain - you must enable the internal pull-up on whatever digital pin it is connected to. SD & SPI Pins Starting from the left you've got SPI Clock (SCK) - output from feather to wing SPI Master Out Slave In (MOSI) - output from feather to wing SPI Master In Slave Out (MISO) - input from wing to feather These pins are in the same location on every Feather. They are used for communicating with the SD card. When the SD card is not inserted, these pins are completely free. MISO is tri-stated whenever the SD CS (chip select) pin is pulled high
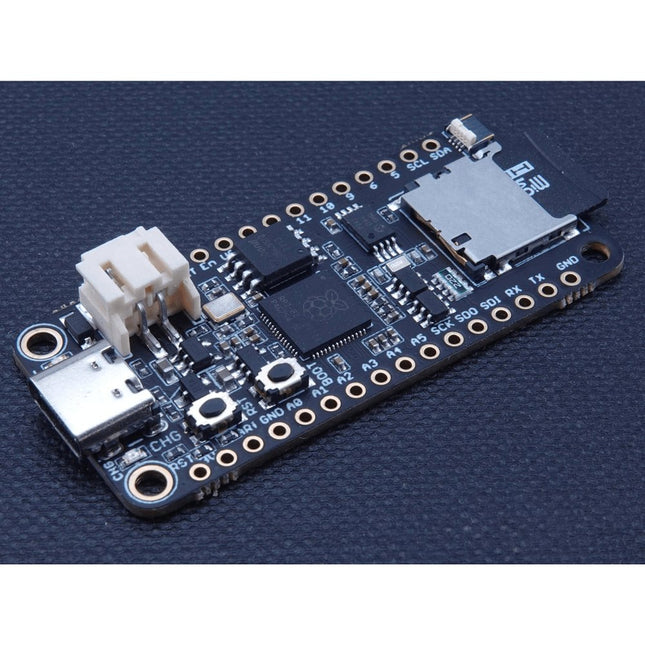
The Challenger RP2040 SD/RTC is an Arduino/CircuitPython compatible Adafruit Feather format microcontroller board based on the Raspberry Pi Pico chip. The board is equipped with an microSD card reader and a Real Time Clock making it super useful for data logging applications.
MicroSD Card
This board is equipped with a microSD card connector that will house standard microSD cards allowing your application to have many gigabytes of storage room for sensor data or what ever you want to place on it. Together with a fancy display you could also store cool images.
Real Time Clock (RTC)
MCP79410 is a highly integrated real time clock with nonvolatile memory and many other advanced features. These features include a battery switchover circuit for backup power, a timestamp to log power failures and digital trimming for accuracy. Using a low-cost 32.768 kHz crystal or other clock source, time is tracked in either a 12-hour or 24-hour format with an AM/PM indicator and timing to the second, minute, hour, day of the week, day, month and year. As an interrupt or wakeup signal, a multifunction open drain output can be programmed as an Alarm Out or as a Clock Out that supports 4 selectable frequencies.
Specifications
Microcontroller
RP2040 from Raspberry Pi (133 MHz dual-core Cortex-M0)
SPI
One SPI channel configured
I²C
One I²C channel configured
UART
One UART channel configured
Analog inputs
4 analog input channels
Flash memory
8 MB, 133 MHz
SRAM Memory
264 KB (divided into 6 banks)
USB 2.0 controller
Up to 12 MBit/s full speed (integrated USB 1.1 PHY)
JST Battery connector
2.0 mm pitch
On board LiPo charger
500 mA standard charge current
RTC
MCP79410 (uses I²C0 (Wire) for communication)
SD Card
One SPI channel used (uses SPI1 to connect to the SD socket)
Dimensions
51 x 23 x 3,2 mm
Weight
9 g
Downloads
Datasheet
RunCPM image including HW I/O port support
CPM File image for RunCPM
Getting started with RunCPM for the Challenger RP2040 SD/RTC board
CircuitPython download page
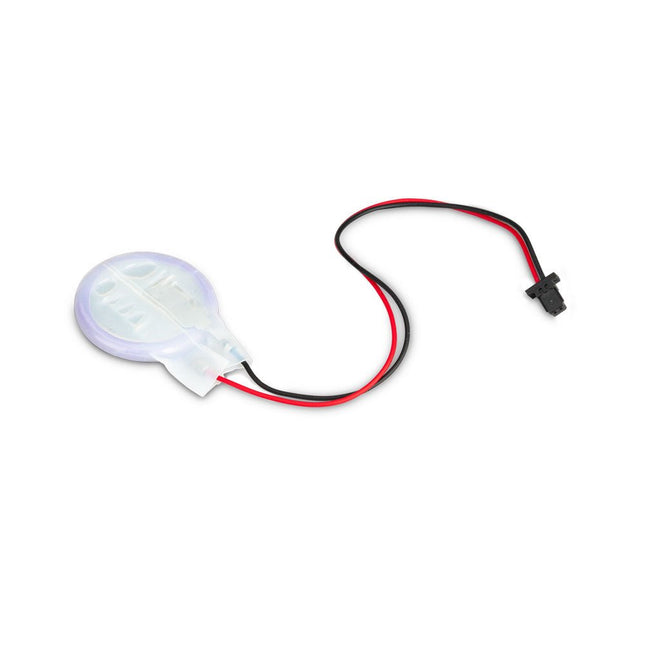
The power-management IC used on Raspberry Pi 5 integrates a real-time clock, and charging circuitry for a button cell which can power the clock while main power is disconnected. This Panasonic ML-2020 lithium manganese dioxide battery with a two-pin plug and a double-sided adhesive pad can be connected directly to the battery connector of the Raspberry Pi 5 and attached to the inside of a case or another convenient location.
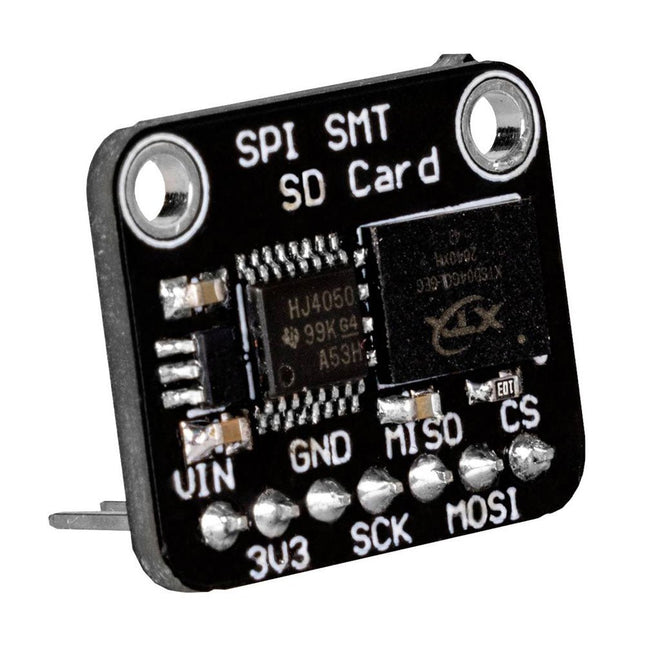
This flash memory allows you to store and read data externally via the SPI interface of your microcontroller. The control of the module is exactly the same as with a conventional SD card and is therefore particularly simple. The module is especially suitable for mobile setups, where normal SD cards could slip out of the SD card slot. Specifications Special feature 3 V and 5 V operation due to the integrated voltage converter Supply voltage Vcc 3-5 V Logic level Vcc Interface SPI Memory size 512 MB Clock frequency Up to 50 MHz Dimensions 18 x 22 x 12 mm Weight 3 g
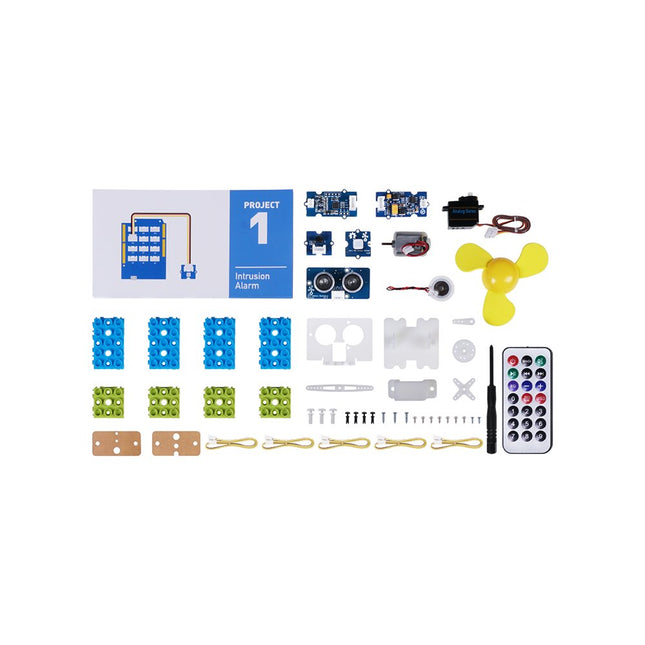
This is an add-on kit for the Seeed Studio Grove Beginner Kit for Arduino.
Applications
Suitable for Arduino beginners
Suitable for infrared control and motion detect
Suitable for getting started with open-source hardware and Arduino coding
Included
1x Grove Water Atomization
1x Grove Mini Fan
1x Grove Servo
1x Grove Ultrasonic Distance Sensor
1x Grove Infrared Receiver
1x Grove Mini PIR Motion Sensor
1x Grove Green Wrapper
1x Grove Blue Wrapper
5x Grove Cable
1x Infrared Remote Control Key
1x Ultrasonic Sensor Bracket Set
1x Motor Bracket Set
1x Servo Base
The GrovePi+ is an easy-to-use and modular system for hardware hacking with the Raspberry Pi, no need for soldering or breadboards: plug in your Grove sensors and start programming directly.
Grove is an easy-to-use collection of more than 100 inexpensive plug-and-play modules that sense and control the physical world. By connecting Grove Sensors to Raspberry Pi, it empowers your Pi in the physical world. With hundreds of sensors to choose from Grove families, the possibilities for interaction are endless.
Set-up in 4 simple steps
Slip the GrovePi+ board over your Raspberry Pi
Connect the Grove modules to the GrovePi+ board
Upload your program to Raspberry Pi
Begin taking in the world data
SD card quality is crucial for a good Raspberry Pi experience. Raspberry Pi's A2 microSD cards support higher bus speeds and command queuing, improving random read performance and narrowing the gap with NVMe SSDs. These cards are rigorously tested for optimal performance with Raspberry Pi models.
Features
Capacity: 32 GB
Support for DDR50 and SDR104 bus speeds and command queueing (CQ) extension
Speed Class: C10, U3, V30, A2
Random 4 KB read performance: 3,200 IOPS (Raspberry Pi 4, DDR50) 5,000 IOPS (Raspberry Pi 5, SDR104)
Random 4 K write performance: 1,200 IOPS (Raspberry Pi 4, DDR50) 2,000 IOPS (Raspberry Pi 5, SDR104)
Shock-proof, X-ray–proof, and magnet-proof
microSDHC/microSDXC formats
Downloads
Datasheets
SD card quality is crucial for a good Raspberry Pi experience. Raspberry Pi's A2 microSD cards support higher bus speeds and command queuing, improving random read performance and narrowing the gap with NVMe SSDs. These cards are rigorously tested for optimal performance with Raspberry Pi models.
Features
Capacity: 64 GB
Support for DDR50 and SDR104 bus speeds and command queueing (CQ) extension
Speed Class: C10, U3, V30, A2
Random 4 KB read performance: 3,200 IOPS (Raspberry Pi 4, DDR50) 5,000 IOPS (Raspberry Pi 5, SDR104)
Random 4 K write performance: 1,200 IOPS (Raspberry Pi 4, DDR50) 2,000 IOPS (Raspberry Pi 5, SDR104)
Shock-proof, X-ray–proof, and magnet-proof
microSDHC/microSDXC formats
Downloads
Datasheets
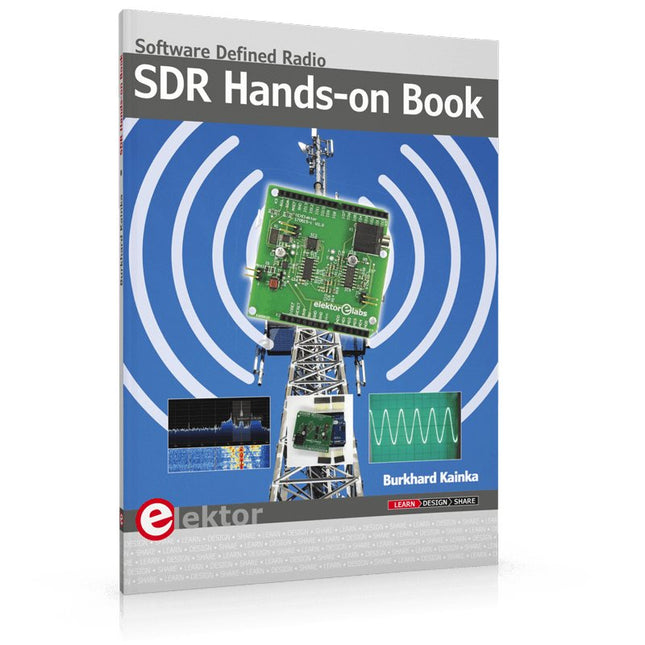
The short-wave technique has a very particular appeal: It can easily bridge long distances. By reflecting short-wave signals off the conductive layers of the ionosphere, they can be received in places beyond the horizon and therefore can reach anywhere on earth. Although technology is striving for ever higher frequencies, and radio is usually listened to on FM, DAB+, satellite or the Internet, modern means of transmission require extensive infrastructure and are extremely vulnerable. In the event of a global power outage, there is nothing more important than the short-wave. Amateur radio is not only a hobby, it’s also an emergency radio system!
Elektor’s SDR-Shield is a versatile shortwave receiver up to 30 MHz. Using an Arduino and the appropriate software, radio stations, morse signals, SSB stations, and digital signals can be received.
In this book, successful author and enthusiastic radio amateur, Burkhard Kainka describes the modern practice of software defined radio using the Elektor SDR Shield. He not only imparts a theoretical background but also explains numerous open source software tools.
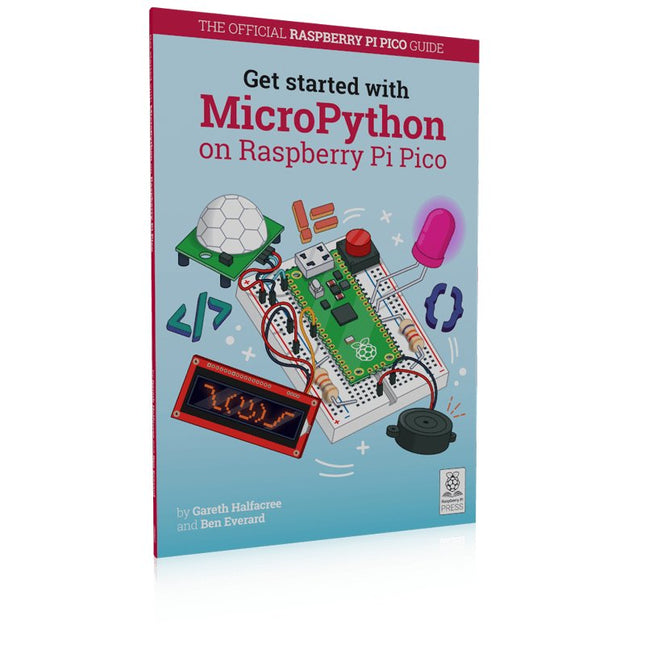
In Get Started with MicroPython on Raspberry Pi Pico, you will learn how to use the beginner-friendly language MicroPython to write programs and connect up hardware to make your Raspberry Pi Pico interact with the world around it. Using these skills, you can create your own electro‑mechanical projects, whether for fun or to make your life easier.
Microcontrollers, like RP2040 at the heart of Raspberry Pi Pico, are computers stripped back to their bare essentials. You don’t use monitors or keyboards, but program them to take their input from, and send their output to the input/output pins.
Using these programmable connections, you can light lights, make noises, send text to screens, and much more. In Get Started with MicroPython on Raspberry Pi Pico, you will learn how to use the beginner-friendly language MicroPython to write programs and connect up hardware to make your Raspberry Pi Pico interact with the world around it. Using these skills, you can create your own electro‑mechanical projects, whether for fun or to make your life easier.
The robotic future is here – you just have to build it yourself. We’ll show you how.
About the authors
Gareth Halfacree is a freelance technology journalist, writer, and former system administrator in the education sector. With a passion for open-source software and hardware, he was an early adopter of the Raspberry Pi platform and has written several publications on its capabilities and flexibility.
Ben Everard is a geek who has stumbled into a career that lets him play with new hardware. As the editor of HackSpace magazine, he spends more time than he really should experimenting with the latest (and not-solatest) DIY tech.
32 new Projects, Practical Examples and Exercises with the Elektor Arduino Nano MCCAB Training Board
Electronics and microcontroller technology offer the opportunity to be creative. This practical microcontroller course provides you with the chance to bring your own Arduino projects and experience such moments of success. Ideally, everything works as you imagined when you switch it on for the first time. In practice, however, things rarely work as expected. At that point, you need knowledge to efficiently search for and find the reason for the malfunction.
In this book for advanced users, we delve deep into the world of microcontrollers and the Arduino IDE to learn new procedures and details, enabling you to successfully tackle and solve even more challenging situations.
With this book, the author gives the reader the necessary tools to create projects independently and also to be able to find errors quickly. Instead of just offering ready-made solutions, he explains the background, the hardware used, and any tools required. He sets tasks in which the reader contributes their own creativity and writes the Arduino sketch themselves.
If you don’t have a good idea and get stuck, there is, of course, a suggested solution for every project and every task, along with the corresponding software, which is commented on and explained in detail in the book.
This practical course will teach you more about the inner workings of the Arduino Nano and its microcontroller. You will get to know hardware modules that you can use to realize new and interesting projects. You will familiarize yourself with software methods such as ‘state machines,’ which can often be used to solve problems more easily and clearly.
The numerous practical projects and exercise sketches are once again realized on the Arduino Nano MCCAB Training Board, which you may already be familiar with from the course book ‘Microcontrollers Hands-on Course for Arduino Starters’, and which contains all the hardware peripherals and operating elements we need for the input/output operations of our sketches.
Readers who do not yet own the Arduino Nano MCCAB Training Board can purchase the required hardware separately, or alternatively, build it on a breadboard.