Der Arduino Uno ist ein Open-Source-Mikrocontroller-Entwicklungssystem, das Hardware, eine integrierte Entwicklungsumgebung (IDE) und eine Vielzahl von Bibliotheken umfasst. Es wird von einer riesigen Gemeinschaft von Programmierern, Elektronikern, Enthusiasten und Akademikern unterstützt. Insbesondere die Bibliotheken erleichtern die Programmierarbeit und reduzieren die Entwicklungszeiten, da sie das Erstellen von Programmen erheblich erleichtern.
Der Raspberry Pi 4 kann in vielen Projekten wie Audio- und Videoanwendungen, aber auch in Industriesteuerungen, Robotik, Spielen usw. eingesetzt werden. Dazu bietet er auch WiFi- und Bluetooth-Fähigkeiten, wodurch er sich zudem hervorragend für internetbasierte Steuerungs- und Überwachungsanwendungen eignet.
In diesem Buch werden sowohl der Raspberry Pi 4 als auch der Arduino Uno in PID-basierten automatischen Steuerungsanwendungen eingesetzt. Nach einer grundlegenden Theorie der Regelsysteme werden funktionierende und getestete Projekte zur Steuerung realer Systeme mit PID-Reglern vorgestellt. Die Open-Loop-Eigenschaften, die Abstimmung der PID-Parameter und das Closed-Loop-Zeitverhalten der Systeme werden zusammen mit Blockdiagrammen, Schaltplänen und PID-Regelalgorithmen ausführlich diskutiert.
Vollständige Programme für den Raspberry Pi und den Arduino Uno runden die im Buch vorgestellten Projekte ab. Die Regelsysteme können problemlos auch auf andere Projekte angewendet werden und die für den Raspberry Pi 4 angegebenen Programme sollten auch mit anderen Modellen der Raspberry Pi-Familie reibungslos funktionieren.
Das Buch behandelt folgende Themen:
Steuer- und Regelsysteme
Analoge und digitale Sensoren
Übertragungsfunktionen und zeitkontinuierliche Systeme
Systemantwortfunktionen erster und zweiter Ordnung
Zeitdiskrete digitale Systeme
Zeitkontinuierliche PID-Regler
Zeitdiskrete PID-Regler
Zweipunkt-Temperaturregelung mit Raspberry Pi und Arduino Uno
PID-basierte Temperaturregelung mit Raspberry Pi und Arduino Uno
Motorsteuerung mit Raspberry Pi und Arduino Uno
Wasserstandsregelung mit Raspberry Pi und Arduino Uno
PID-basierte LED-Helligkeitsregelung mit Raspberry Pi und Arduino Uno
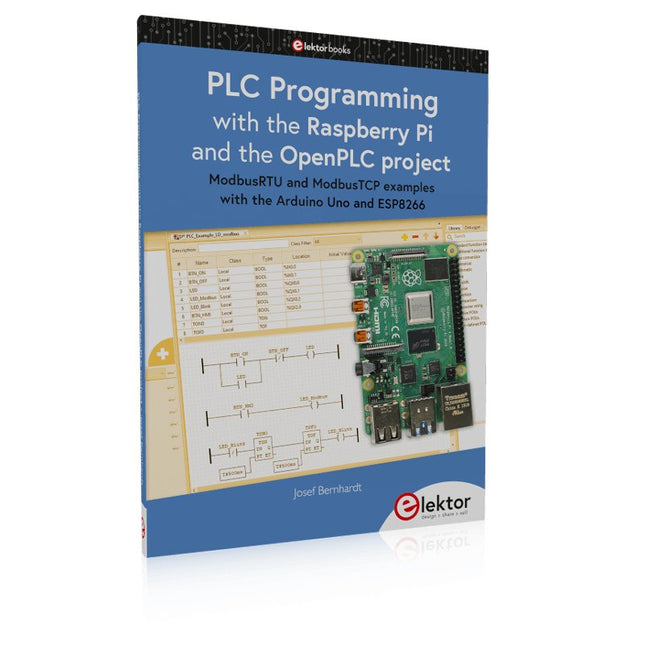
ModbusRTU and ModbusTCP examples with the Arduino Uno and ESP8266
Introduction to PLC programming with OpenPLC, the first fully open source Programmable Logic Controller on the Raspberry Pi, and Modbus examples with Arduino Uno and ESP8266
PLC programming is very common in industry and home automation. This book describes how the Raspberry Pi 4 can be used as a Programmable Logic Controller. Before taking you into the programming, the author starts with the software installation on the Raspberry Pi and the PLC editor on the PC, followed by a description of the hardware.
You'll then find interesting examples in the different programming languages complying with the IEC 61131-3 standard. This manual also explains in detail how to use the PLC editor and how to load and execute the programs on the Raspberry Pi. All IEC languages are explained with examples, starting with LD (Ladder Diagram) over ST (Structured Control Language) to SFC (Special Function Chart). All examples can be downloaded from the author's website.
Networking gets thorough attention too. The Arduino Uno and the ESP8266 are programmed as ModbusRTU or ModbusTCP modules to get access to external peripherals, reading sensors and switching electrical loads. I/O circuits complying with the 24 V industry standard may also be of interest for the reader.
The book ends with an overview of commands for ST and LD. After reading the book, the reader will be able to create his own controllers with the Raspberry Pi.
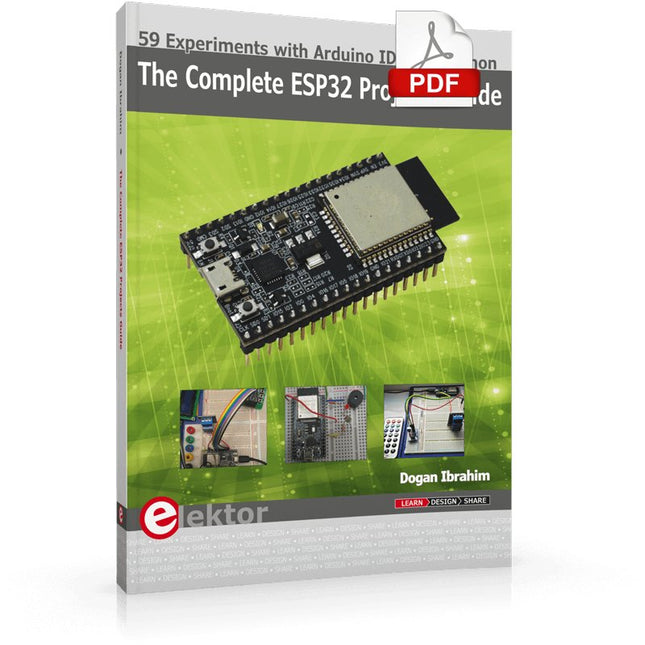
59 Experiments with Arduino IDE and Python
The main aim of this book is to teach the Arduino IDE and MicroPython programming languages in ESP32 based projects, using the highly popular ESP32 DevKitC development board. Many simple, basic, and intermediate level projects are provided in the book using the Arduino IDE with ESP32 DevKitC. All projects have been tested and work. Block diagrams, circuit diagrams, and complete program listings of all projects are given with explanations. In addition, several projects are provided for programming the ESP32 DevKitC using MicroPython. The projects provided in this book are designed to teach the following features of the ESP32 processor:
GPIOs
Touch sensors
External interrupts
Timer interrupts
I²C and I²S
SPI
PWM
ADC
DAC
UART
Hall sensor
Temperature sensor
Infrared controller
Reading and writing to SD card
Reading and writing to flash memory
RTC timer
Chip ID
Security and encryption
Wi-Fi and network programming
Bluetooth BLE programming
Communication mobile devices
Low power design
ESP-IDF programming
The projects have been organized with increasing levels of difficulty. Readers are encouraged to tackle the projects in the order given. A specially prepared hardware kit (SKU 18305) is available from Elektor. With the help of this hardware, it should be easy and fun to build the projects in this book.
Le téléchargement intégral de ce numéro est disponible pour nos membres GOLD et GREEN sur le site Elektor Magazine !
Pas encore membre ? Cliquez ici.
Raspberry Pi Pico comme analyseur de spectredes FFT avec du matériel bon marché
régulateur de tension linéaire ±40 Vune alimentation de qualité pour l'amplificateur de puissance Fortissimo-100... et d'autres !
la communication sans fil des microcontrôleurs devient flexiblel'EEPROM ouvre des perspectives de mise en réseau pour les microcontrôleurs sans fil
5000 ? à gagner !participez au concours STM32 Wireless Innovation Design Contest
2023 : l'odyssée de l'IAdémarrer avec l'interpréteur de code de ChatGPT
LoRa, un couteau suisse (1)le protocole LoRa et ses avantages
puit de courant réglable avec générateur d'horloge intégrétestez vos alimentations, convertisseurs de tension et batteries
les nouvelles cartes Arduino UNO R4 Minima et WiFi
des potentiomètres logarithmiquesqui sont exponentiels !
Carte d'interface pour pilote de moteurUn BoB pour un pilote de moteur à courant continu de 5 A avec une taille de 3×3 mm
sur le vifdanger de l'électronique
une architecture cellulaire offre-t-elle la plus basse consommation pour l'Internet des objets (IdO) ?caractéristiques énergétiques des technologies LTE-M et NB-IoT pour le déploiement de réseaux étendus à basse consommation (LPWAN)
communication sans fil dans les systèmes IoT à l'aide de modules Arduino MKRnormes de communication des modules Arduino pour l'IoT
pertes en courant alternatif dans les composants magnétiquesévitez la surchauffe des inductances !
optimiser son déploiement cloud grâce aux appareils de mesure
implémentation de Matter : que faut-il pour déployer les appareils Matter ?
le YARD Stick Oneun outil de test sans fil pour les fréquences jusqu?à 1 GHz
relais à verrouillagedrôle de composant, la série
PIC O?Clock ? prendre le pouls du tempsconception d'un récepteur de signaux horaires SDR
Due Diligence DirectiveBusiness as Usual Will Not Do
démarrer en électronique?amplificateur de tension
enregistreur d'infrasons avec l'Arduino Pro Miniun projet extrait du livre 'Arduino & Co.' d'Elektor
compteur d'énergie basé sur le cloudavec un module ESP32 et un capteur de tension/courant PZEM-004T
guide de programmation Bare-Metal (2)timer précis, UART et débogage
Hexadoku
Open-Source-Code mit Arduino IDE und PlatformIO
Autonomes Fahren: GPS, Accelerometer, Gyroskop
PS3-Controller
Mikrocontroller wie der Arduino und Einplatinenrechner wie der Raspberry Pi haben sich zu beliebten Komponenten entwickelt. Dritter im Bunde ist der ESP32 der Firma Espressif. Mikrocontroller dieser Baureihe zeichnen sich durch eine Vielzahl implementierter Funktionen aus, die bei einem Arduino konventioneller Prägung mit einem Atmel-AVR-Mikrocontroller erst mit weiterer Hardware möglich sind. Prominentes Beispiel sind hier die WiFi- und Bluetooth-Funktionalitäten. Gegenüber einem Raspberry Pi zeichnen sie sich durch einen deutlich geringeren Preis aus.
Allgemeine Informationen für die Realisierung eines Roboterauto-Projekts mit dem ESP32 sind leicht zu finden. Dabei handelt es sich aber oft nur um Ausführungen zu einem Teilaspekt, ohne inhaltliche oder funktionale Abstimmung. So ist nicht nur die Beschaffung der benötigten Informationen mühselig und zeitaufwändig, sie kann auch außerordentlich fehlerträchtig sein.
Ansatzpunkt dieses Buches ist, diese Lücke zu schließen. Es geht auf verschiedene Möglichkeiten eines Chassis ein, vermittelt nötige Kenntnisse und führt schrittweise von einer einfachen Motorsteuerung zu einem komplexen sensor- und sprachgesteuerten Roboterauto. Hacks rund um GPS und eine PlayStation 3 runden die Sache ab.
Inhalt
Bei der Reihenfolge der Kapitel wurde versucht – beginnend bei der Darstellung von grundlegenden Informationen – über die Lösung einfacher Aufgaben zu etwas anspruchsvolleren Techniken zu führen.
Der Mikrocontroller ESP32
Die Software erstellen
Die Stromversorgung
Rund um die Hardware
Das Chassis
Der Gleichstrommotor
Kabellose Steuerung über WiFi
Mit Sensoren Hindernisse erkennen
Eine eigene Roboterauto-App
Servo und Lichtsensor
GPS
Accelerometer / Gyroskop
PS3-Controller
Roboterauto-App
Hinweis zur Software
Die Dateien haben das Suffix (.cpp). Grund ist die Entwicklung mit PlatformIO. Mit Copy & Paste sollten sie auch in der Arduino-IDE verwendet werden können.
The Joy-Pi Note 2 is a portable, all-in-one electronics experimentation and learning platform, fully compatible with the Raspberry Pi 4 and 5. Combining an 11.6-inch IPS display, a detachable wireless keyboard, and a compact, robust housing, it provides a flexible environment for electronics development, programming, and education.
With more than 45 hands-on courses and projects, the Joy-Pi Note 2 supports learning and experimentation with Python, Scratch, robotics, and IoT applications. Its integrated learning platform provides step-by-step instructions, making it suitable for beginners, students, educators, and experienced makers.
The system features over 22 integrated sensors and modules, including temperature, light, motion, and distance sensors, as well as LED displays and motor interfaces. Additional connectivity options, including USB-C and GPIO expansion interfaces, allow users to develop and test their own projects.
With support for the Raspberry Pi 5, the Joy-Pi Note 2 also benefits from improved processing power and graphics performance, making it a versatile platform for electronics education, prototyping, and advanced experimentation.
Features
Complete Electronics Experimentation Kit
All-in-One Learning and Experimentation Platform
Compatible with Raspberry Pi 4 & 5
Pre-installed Interactive Learning Platform
Detachable Wireless Keyboard
Integrated Storage Compartment for Power Bank and Accessories
Specifications
Display
11.6" LCD Display
Camera
2 MP
Learning platform
45+ courses & projects
Displays
7-segment display, 16x2 display, 1.8" TFT display, 0.96" OLED display, 8x8 RGB matrix
Power supply
5 V/5 A, USB-C
Displays
7-segment display, 16x2 LCD module, 8x8 RGB matrix
Sensors
DHT temperature & humidity sensor, tilt sensor, motion sensor, sound sensor, touch sensor, RFID module, light sensor, ultrasonic sensor
Motors
Servo interface, stepper motor interface, vibration motor
Control system
Joystick, 4x4 button matrix, Raspberry Pi & PCV connection switch, motion sensor sensitivity controller, sound sensor sensitivity controller, 16x2 LCD module brightness controller
Miscellaneous
Relay, fan, GPIO extension, GPIO LED indicator, breadboard, IO/ ADC/I²C/UART extension interface, infrared sensor interface, buzzer, display driver
Accessories
RFID chip, RFID card, power supply unit, servo motor, stepper motor, infrared receiver, infrared remote control, DC motor with fan attachment, screwdriver, microSD card (32 GB), SD card reader, electronic accessories, wireless mouse, wireless keyboard
Dimensions
291 x 190 x 46 mm
Weight
1.3 kg
Included
Joy-Pi Note 2 Notebook
Raspberry Pi 5 (8 GB RAM)
Accessories
USB-C power supply unit
Quick start guide
Downloads
Joy-Pi website
Datasheet
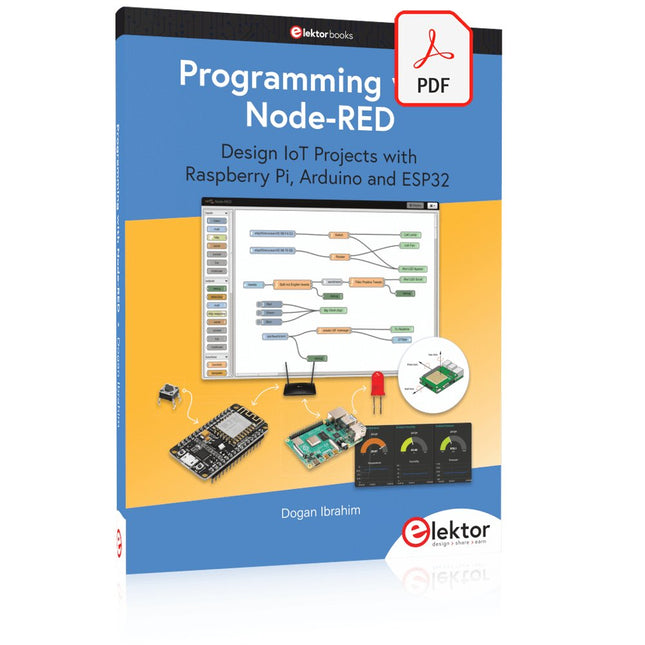
Design IoT Projects with Raspberry Pi, Arduino and ESP32 The Internet of Things (IoT) is becoming a major application area for embedded systems. As a result, more and more people are becoming interested in learning about embedded design and programming. Technical colleges and universities are moving away from legacy 8 and 16-bit microcontrollers and are introducing 32-bit embedded microcontrollers to their curriculums. Many IoT applications demand precision, high processing power, and low power consumption. Produced by IBM, Node-RED is an open-source visual editor for wiring the Internet of Things. Node-RED comes with a large number of nodes to handle a multitude of tasks. The required nodes are selected and joined together to perform a particular task. Node-RED is based on flow type programming where nodes are configured and joined together to form an application program. There are nodes for performing complex tasks, including web access, Twitter, E-mail, HTTP, Bluetooth, MQTT, controlling GPIO ports, etc. One particularly nice aspect of Node-RED is that the programmer does not need to learn how to write complex programs. For example, an email can be sent by simply joining nodes together and writing only a few lines of code. The aim of this book is to teach how Node-RED can be used in projects. The main hardware platform used with most of the projects in this book is Raspberry Pi 4. Chapters are included to show how Node-RED can be also be used with Arduino Uno, ESP32 DevKitC, and the ESP8266 NodeMCU microcontroller development boards.
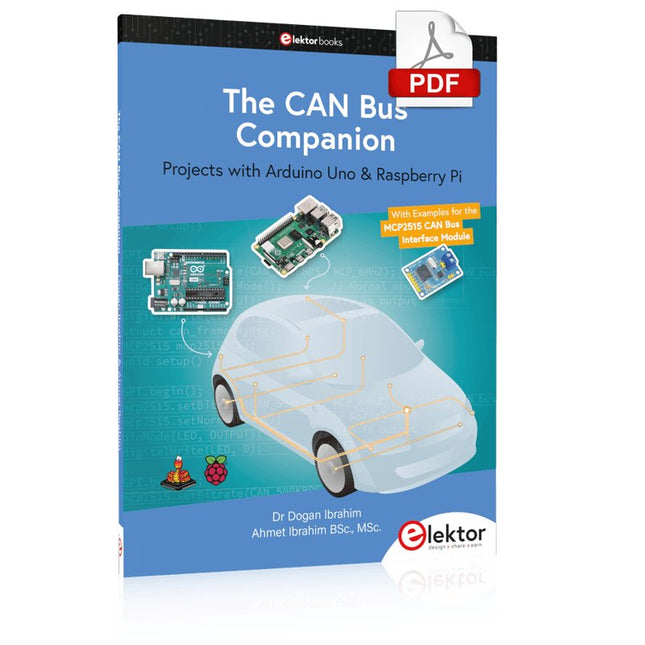
Projects with Arduino Uno & Raspberry Pi with Examples for the MCP2515 CAN Bus Interface Module
This book details the use of the Arduino Uno and the Raspberry Pi 4 in practical CAN bus based projects. Using either the Arduino Uno or the Raspberry Pi with off-the-shelf CAN bus interface modules considerably ease developing, debugging, and testing CAN bus based projects.
This book is written for students, practicing engineers, enthusiasts, and for everyone else wanting to learn more about the CAN bus and its applications. The book assumes that the reader has some knowledge of basic electronics. Knowledge of the C and Python programming languages and programming the Arduino Uno using its IDE and Raspberry Pi will be useful, especially if the reader intends to develop microcontroller-based projects using the CAN bus.
The book should be a useful source of reference material for anyone interested in finding answers to questions such as:
What bus systems are available for the automotive industry?
What are the principles of the CAN bus?
How can I create a physical CAN bus?
What types of frames (or data packets) are available in a CAN bus system?
How can errors be detected in a CAN bus system and how dependable is a CAN bus system?
What types of CAN bus controllers exist?
How do I use the MCP2515 CAN bus controller?
How do I create 2-node Arduino Uno-based CAN bus projects?
How do I create 3-node Arduino Uno-based CAN bus projects?
How do I set the acceptance masks and acceptance filters?
How do I analyze data on the CAN bus?
How do I create 2-node Raspberry Pi-based CAN bus projects?
How do I create 3-node Raspberry Pi-based CAN bus projects?
Projekte mit Arduino Uno und Raspberry Pi
In diesem Buch werden Anwendungen von Arduino Uno und Raspberry Pi 4 in praxisnahen Projekten auf Basis von CAN-Bus detailliert beschrieben. Durch den Einsatz von entweder Arduino Uno oder Raspberry Pi in Verbindung mit handelsüblichen CAN-Bus-Schnittstellenmodulen werden die Entwicklung, Fehlersuche und Fehlerbeseitigung sowie die Überprüfung von Projekten auf CAN-Bus-Basis erheblich erleichtert.
Dieses Buch richtet sich an jeden, der mehr über den CAN-Bus lernen möchte und mit den Grundlagen der Elektronik vertraut ist. Hilfreich ist auch Erfahrung mit den Programmiersprachen C und Python sowie mit der Programmierung von Arduino Uno unter Verwendung seiner IDE und von Raspberry Pi zu haben.
Das Buch ist eine nützliche Informationsquelle und ein Nachschlagewerk für jeden, der Antworten auf eine oder mehrere der folgenden Fragen sucht:
Welche Bussysteme stehen für die Automobilindustrie zur Verfügung?
Was sind die Grundprinzipien des CAN-Bus?
Welche Arten von Frames (oder Datenpaketen) stehen in einem CAN-Bussystem zur Verfügung?
Wie können Fehler in einem CAN-Bussystem erkannt werden, und wie zuverlässig ist ein CAN-Bussystem?
Welche Arten von CAN-Bus-Controllern gibt es?
Welches sind die Funktionsprinzipien des MCP2515 CAN-Bus-Controllers?
Wie kann ich ein CAN-Bus-Projekt mit Arduino Uno realisieren?
Wie kann ich Arduino oder Raspberry Pi CAN-Bus-Projekte mit 2 und 3 Knoten erstellen?
Wie kann ich die Daten auf dem CAN-Bus analysieren?
Wie kann ich ein CAN-Bus-Projekt mit Raspberry Pi ausführen?
A Project-Based Introduction to Microcontrollers and Drone Control
A Practical Introduction to Embedded Systems with the ESP32
This book is intended for readers who are new to embedded systems and looking for a structured, example-driven way to begin. If you’ve explored general-purpose electronics or Arduino-based resources but found them too broad or lacking in practical application, this guide offers a more focused alternative.
With a small, affordable set of components – such as LEDs, sensors, an OLED screen and a motion sensor – you’ll build and work with the same hardware setup throughout the book. This allows you to focus on learning and experimenting without constant reconfiguration.
Topics include:
Understanding and programming the ESP32 microcontroller
Using the Arduino IDE to write and deploy code
Exploring cyber-physical systems, culminating in basic drone control
No prior experience with Arduino or embedded development is required. Each section includes hands-on examples and mini-projects designed to reinforce core concepts and encourage deeper exploration. By the end, you’ll be equipped not only to reproduce the book’s examples, but also to extend them toward your own ideas and applications.
Whether your interest is in learning embedded programming, building interactive systems, or exploring educational drone control, this book provides a clear and practical path to getting started.
Elektor GREEN and GOLD members can download their digital edition here.
Not a member yet? Click here.
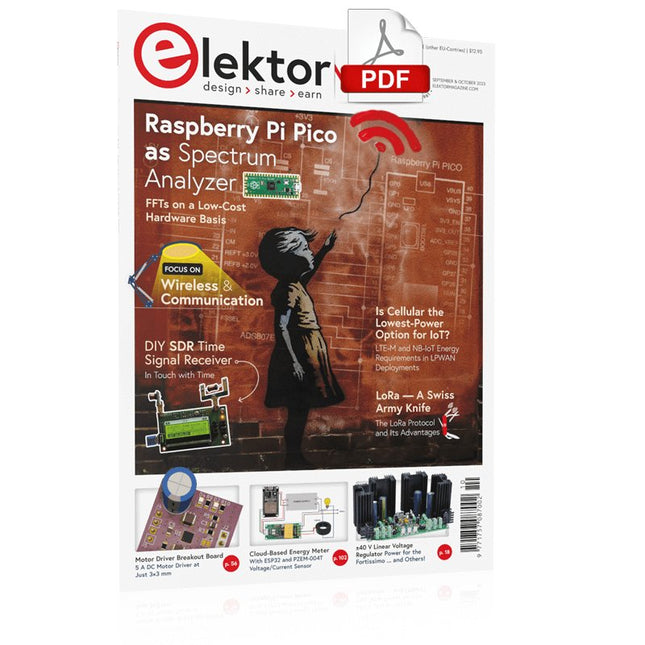
Raspberry Pi Pico as Spectrum AnalyzerFFTs on a Low-Cost Hardware Basis
±40-V Linear Voltage RegulatorAn Alternative Power Supply for the Fortissimo-100 Power Amplifier… and Others!
MCU Wireless Communication Made FlexibleEEPROM Opens Networking Prospects for Wireless MCUs
€5,000 up for grabs!Join the STM32 Wireless Innovation Design Contest
2023: An AI OdysseyGetting Started with ChatGPT’s Code Interpreter
LoRa, a Swiss Army Knife (1)The LoRa Protocol and Its Advantages
Adjustable Current Sink with Integrated Clock GeneratorTest Power Supplies, Voltage Converters and Batteries
Two New Arduino UNO R4 Boards: Minima and WiFi
Logarithmic PotentiometersThey’re Exponential!
Motor Driver Breakout BoardA BoB for a 5 A DC Motor Driver with a 3×3 mm Size
From Life’s ExperienceHazardous Electronics
Is Cellular the Lowest-Power Option for IoT?LTE-M and NB-IoT Energy Requirements in LPWAN Deployments
Wireless Communication in IoT Systems – Using Arduino MKR ModulesThe Right Board for Wi-Fi, LoRa, and Many More Standards
AC Losses in Magnetic ComponentsAvoid Hot Inductors!
Measurement for Optimal Cloud Deployment
Matter Adoption: What does it take to deploy Matter devices?
YARD Stick OneA Sub-1 GHz Wireless Test Tool
Latching RelaysPeculiar Parts, the Series
PIC O’Clock – In Touch with TimeDesigning an SDR Time Signal Receiver
Due Diligence DirectiveBusiness as Usual Will Not Do
Starting Out in Electronics……Voltage Amplification
Infrasound Recorder with the Arduino Pro MiniA Sample Project from Elektor’s “Arduino & Co.” Book
Cloud-Based Energy MeterWith ESP32 Module and PZEM-004T Voltage/Current Sensor
A Bare-Metal Programming Guide (Part 2)Accurate Timing, the UART, and Debugging
Hexadoku
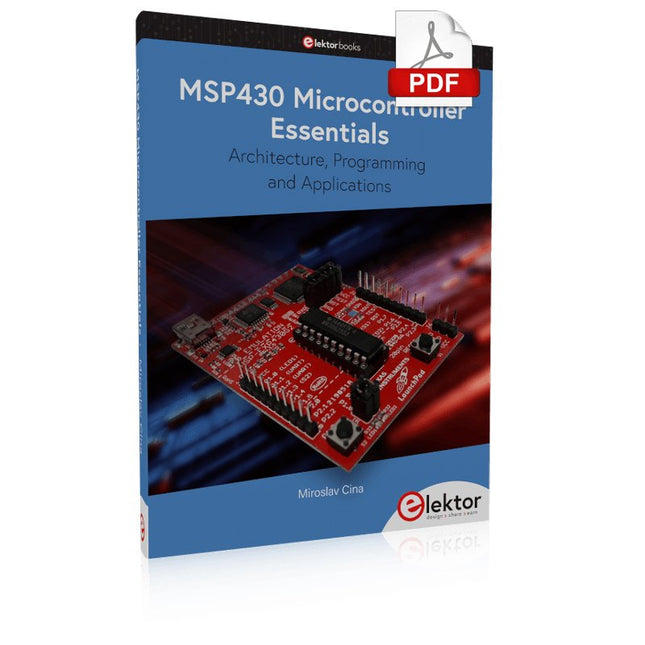
Architecture, Programming and Applications
The MSP430 is a popular family of microcontrollers from Texas Instruments. In this book we will work with the smallest type, which is the powerful MSP430G2553. We will look at the capabilities of this microcontroller in detail, as it is well-suited for self-made projects because it is available in a P-DIP20 package.
We will take a closer look at the microcontroller and then build, step by step, some interesting applications, including a 'Hello World' blinking LED and a nice clock application, which can calculate the day of the week based on the date.
You also will learn how to create code for the MSP microcontroller in assembler. In addition to that, we will work with the MSP-Arduino IDE, which makes it quite easy to create fast applications without special in-depth knowledge of the microcontrollers.
All the code used in the book is available for download from the Elektor website.