Search results for "program for 7"
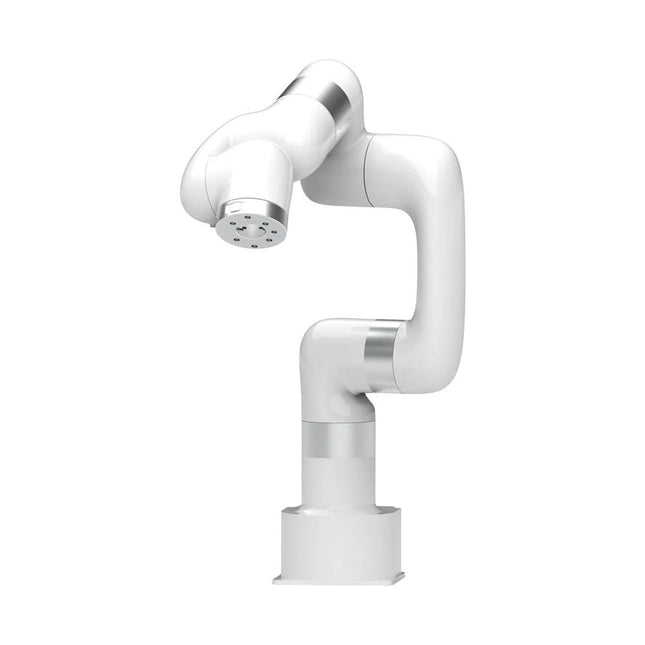
UFactory UFactory xArm 7
This multi-axis robot perfectly balances power and size. Features 6 Axis Payload: 3.5 kg Reach: 700 mm Repeatability: 0.1 mm Max Speed 1000 mm/s Applications Machine Tending Bin Picking Mobile platform Lab Automation Robotic Research Durable Collaborative robots for your automation Industrial-grade harmonic drive and servomotors guarantee 24/7 working without stop. Crafted from Carbon fiber, 15 kg weight makes it possible for easier deployment. Flexible deployment with safe feature Hand teaching, lightweight, space-saving and easy to re-deploy to multiple applications without changing your production layout. Perfectly for recurrent tasks. Collision detection is available for all of our cobots. Your safety is always the top priority. Graphical interface for beginner-friendly programming Compatible with various of operation systems, including macOS and Windows. Web-based technology compatible with all major browsers. Drag and drop to create your code in minutes. Powerful and open source SDK at your fingertips Fully functional open-source Python/C++ SDK provides more flexible programming. ROS/ROS2 packages are ready-to-go. Example codes help you to deploy the robotic arm smoothly. Specifications UFactory 850 xArm 5 xArm 6 xArm 7 Payload 5 kg 3 kg 5 kg 3.5 kg Reach 850 mm 700 mm 700 mm 700 mm Degrees of freedom 6 5 6 7 Repeatability ±0.02 mm ±0.1 mm ±0.1 mm ±0.1 mm Maximum Speed 1 m/s 1 m/s 1 m/s 1 m/s Weight (robot arm only) 20 kg 11.2 kg 12.2 kg 13.7 kg Maximum Speed 180°/s 180°/s 180°/s 180°/s Joint 1 ±360° ±360° ±360° ±360° Joint 2 -132°~132° -118°~120° -118°~120° -118°~120° Joint 3 -242°~3.5° -225°~11° -225°~11° ±360° Joint 4 ±360° -97°~180° ±360° -11°~225° Joint 5 -124°~124° ±360° -97°~180° ±360° Joint 6 ±360° ±360° -97°~180° Joint 7 ±360° Hardware Ambient Temperature Range 0-50°C Power Consumption Min 8.4 W, Typical 200 W, max 400 W Input Power Supply 24 V DC, 16.5 A Footprint Ø 126 mm Materials Aluminum, Carbon Fiber Base Connector Type M5x5 ISO Class Cleanroom 5 Robot Mounting Any End Effector Communication Protocol Modbus RTU(rs485) End Effector I/O 2x DI/2x DO/2x AI/1x RS485 Communication Mode Ethernet Included 1x xArm 5 robotic arm 1x AC control box 1x Robotic arm power cable 1x Robotic arm end effector adapter cable 1x Robotic arm signal cable 1x Control box power cable 1x Network cable 1x Mounting tool 1x Quick start guide
€ 14.569,00
Members identical
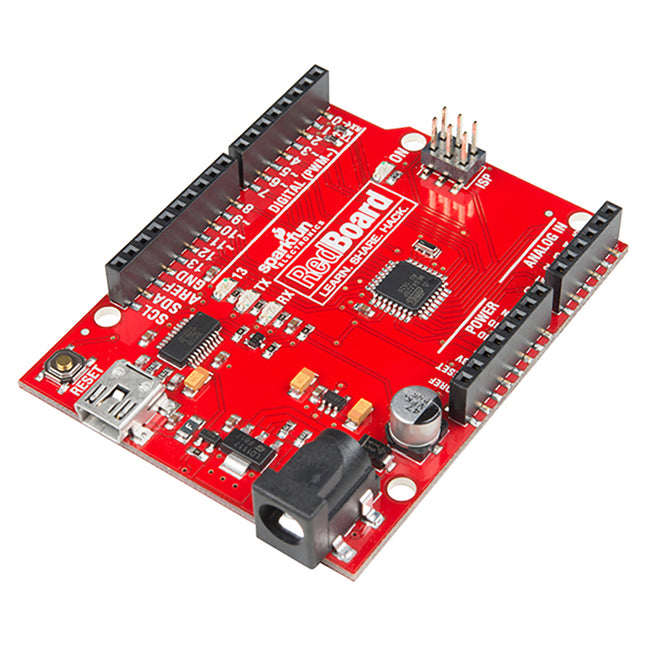
SparkFun SparkFun RedBoard (Programmed with Arduino)
Are you tired of all the different Arduino boards, and having to choose which features you need? Wouldn't it be much simpler to have all the best features on the same board and not have to compromise? That is precisely what the people at SparkFun thought and delivered the fantastic SparkFun RedBoard Programmed with Arduino. Features ATmega328 microcontroller with Optiboot (UNO) Bootloader Input voltage: 7-15 V 0-5 V outputs with 3.3 V compatible inputs 6 Analog Inputs 14 Digital I/O Pins (6 PWM outputs) ISP Header 16 MHz Clock Spee 32 k Flash Memory R3 Shield Compatible All SMD Construction USB Programming Facilitated by the Ubiquitous FTDI FT231X Red PCB The SparkFun RedBoard combines the stability of the FTDI, the simplicity of the Uno's Optiboot bootloader, and the R3 shield compatibility of the Uno R3. RedBoard has the hardware peripherals you are used to: 6 Analog Inputs 14 Digital I/O pins (6 PWM pins) SPI UART External interrupts Downloads Drivers GitHub
€ 24,95
Members € 22,46
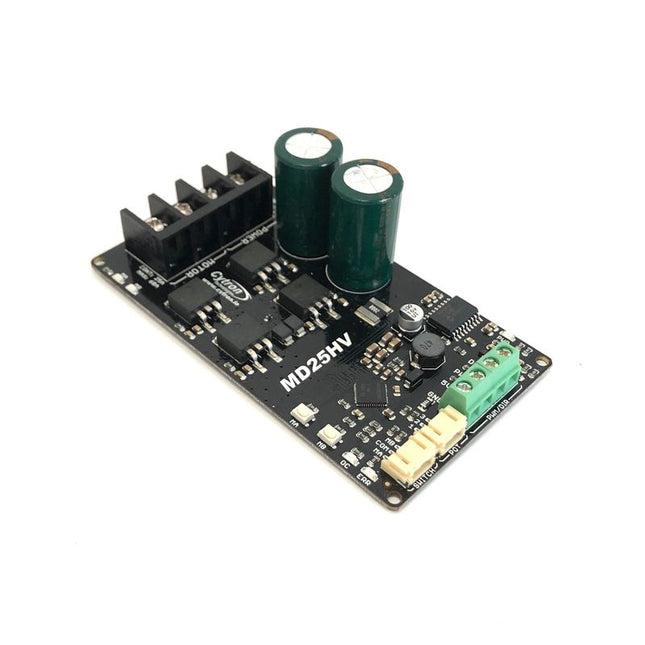
Cytron Cytron 25Amp 7-58 V High Voltage DC Motor Driver
It is possible to control Cytron 25Amp 7-58 V High Voltage DC Motor Driver with PWM and DIR inputs. The input logic voltage ranges from 1.8 V to 30 V and the board is compatible with variety of host controllers (such as Arduino, Raspberry Pi, PLC). If you don't want to deal with programming to control the motor, there is an option to control the motor driver from a potentiometer (speed) and a switch (direction). You can also test the motor quickly and conveniently using the onboard test buttons and motor output LEDs without the need to hook up the host controller. It is possible to power the host controller with the buck regulator which produces 5 V output. This is especially useful for high voltage applications where no additional power source nor high voltage buck regulator is needed. This motor driver also incorporates various protection features. If the motor stalls or you've hooked up an oversized motor, the overcurrent protection will take care of the board and protect it from damage. If the motor is trying to draw current more than what the motor driver can support, the motor current will be limited at the maximum threshold. Assisted by temperature protection, the maximum current limiting threshold depends on the board temperature. The higher the board temperature, the lower the current limiting threshold. Note: Power input does not have reverse-voltage protection. Connecting the battery in reverse polarity will damage the motor driver instantaneously. Features Bidirectional control for one brushed DC motor Operating Voltage: DC 7 V to 58 V Maximum Motor Current: 25 A continuous, 60 A peak 5 V output for the host controller (250 mA max) Buttons for quick testing LEDs for motor output state Dual Input Mode: PWM/DIR or Potentiometer/Switch Input PWM/DIR Inputs compatible with 1.8 V, 3.3 V, 5 V, 12 V and 24 V logic (Arduino, Raspberry Pi, PLC, etc) PWM frequency up to 40 kHz (Output frequency is fixed at 16 kHz) Overcurrent protection with active current limiting Temperature protection Undervoltage shutdown Scope of delivery 1 × MD25HV (motor driver board) 1 × Potentiometer with connector 1 × Rocker switch with connector 4 × Nylon PCB Standoffs/Spacers Documents Datasheet Sample Code
€ 62,95
Members € 56,66
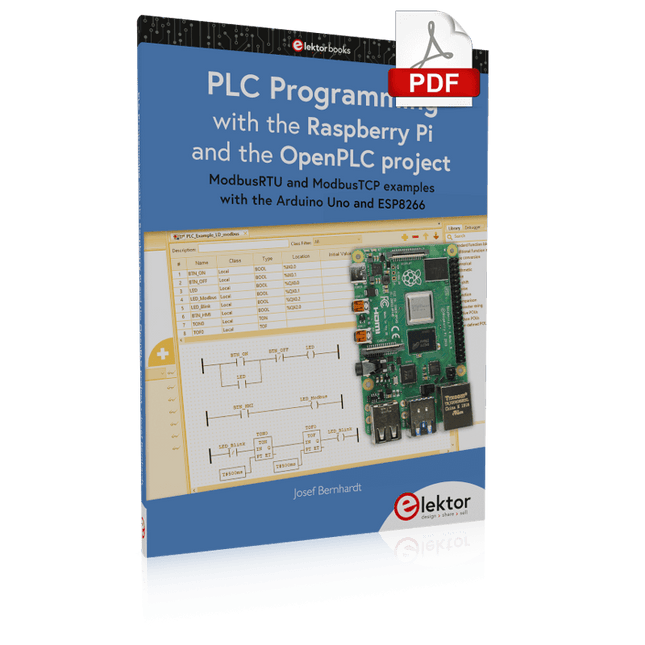
Elektor Digital PLC Programming with the Raspberry Pi and the OpenPLC Project (E-book)
ModbusRTU and ModbusTCP examples with the Arduino Uno and ESP8266 Introduction to PLC programming with OpenPLC, the first fully open source Programmable Logic Controller on the Raspberry Pi, and Modbus examples with Arduino Uno and ESP8266 PLC programming is very common in industry and home automation. This book describes how the Raspberry Pi 4 can be used as a Programmable Logic Controller. Before taking you into the programming, the author starts with the software installation on the Raspberry Pi and the PLC editor on the PC, followed by a description of the hardware. You'll then find interesting examples in the different programming languages complying with the IEC 61131-3 standard. This manual also explains in detail how to use the PLC editor and how to load and execute the programs on the Raspberry Pi. All IEC languages are explained with examples, starting with LD (Ladder Diagram) over ST (Structured Control Language) to SFC (Special Function Chart). All examples can be downloaded from the author's website. Networking gets thorough attention too. The Arduino Uno and the ESP8266 are programmed as ModbusRTU or ModbusTCP modules to get access to external peripherals, reading sensors and switching electrical loads. I/O circuits complying with the 24 V industry standard may also be of interest for the reader. The book ends with an overview of commands for ST and LD. After reading the book, the reader will be able to create his own controllers with the Raspberry Pi.
€ 27,95
Members € 22,36
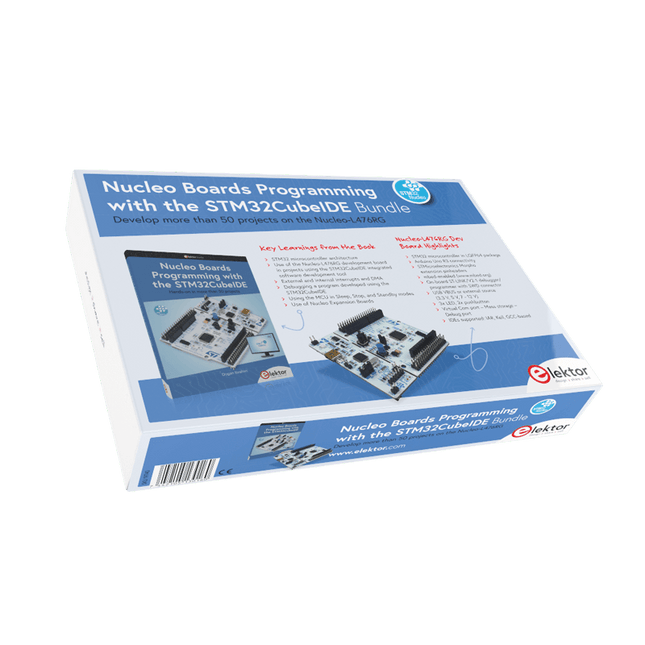
Elektor Bundles Nucleo Boards Programming with the STM32CubeIDE Bundle
STM32 Nucleo family of processors are manufactured by STMicroelectronics. These are low-cost ARM microcontroller development boards. This book is about developing projects using the popular STM32CubeIDE software with the Nucleo-L476RG development board. In the early Chapters of the book the architecture of the Nucleo family is briefly described.The book covers many projects using most features of the Nucleo-L476RG development board where the full software listings for the STM32CubeIDE are given for each project together with extensive descriptions. The projects range from simple flashing LEDs to more complex projects using modules, devices, and libraries such as GPIO, ADC, DAC, I²C, SPI, LCD, DMA, analogue inputs, power management, X-CUBE-MEMS1 library, DEBUGGING, and others. In addition, several projects are given using the popular Nucleo Expansion Boards. These Expansion Boards plug on top of the Nucleo development boards and provide sensors, relays, accelerometers, gyroscopes, Wi-Fi, and many others. Using an expansion board together with the X-CUBE-MEMS1 library simplifies the task of project development considerably.All the projects in the book have been tested and are working. The following sub-headings are given for each project: Project Title, Description, Aim, Block Diagram, Circuit Diagram, and Program Listing for the STM32CubeIDE.In this book you will learn about STM32 microcontroller architecture; the Nucleo-L476RG development board in projects using the STM32CubeIDE integrated software development tool; external and internal interrupts and DMA; DEBUG, a program developed using the STM32CubeIDE; the MCU in Sleep, Stop, and in Standby modes; Nucleo Expansion Boards with the Nucleo development boards. What you need a PC with Internet connection and a USB port; STM32CubeIDE software (available at STMicroelectronics website free of charge) the project source files, available from the book’s webpage hosted by Elektor; Nucleo-L476RG development board; simple electronic devices such as LEDs, temperature sensor, I²C and SPI chips, and a few more; Nucleo Expansion Boards (optional).
€ 44,95€ 34,95
Members identical
Elektor Digital Universal Display Book for PIC Microcontrollers (E-book)
The newcomer to Microchip’s PIC microcontrollers invariably gets an LED to flash as their first attempt to master this technology. You can use just a simple LED indicator in order to show that your initial attempt is working, which will give you confidence to move forward. This is how the book begins — simple programs to flash LEDs, and eventually by stages to use other display indicators such as the 7-segment display, alphanumeric liquid crystal displays and eventually a colour graphic LCD. As the reader progresses through the book, bigger and upgraded PIC chips are introduced, with full circuit diagrams and source code, both in assembler and C. In addition, a small tutorial is included using the MPLAB programming environment, together with the EAGLE schematic and PCB design package to enable readers to create their own designs using the book’s many case studies as working examples to work from.
€ 16,95
Members € 13,56
Elektor Digital Home Automation and Electronics for Starters (E-book)
Projects with Arduino, ESPHome, Home Assistant, and Raspberry Pi & Co. We start by learning about electrical engineering by looking at the basics of voltage and current and the types of resistors, diodes and transistors. In the second chapter, we get to know the most famous microcontroller, the Arduino Uno. We will analyze its structure, learn how to code and carry out illustrative examples. In chapter three, we set up Home Assistant on a Raspberry Pi. We look at scenes, automations and the general handling of HA. We then look at the MQTT protocol, which is the gold standard in home electronics communication, so to speak, but other interfaces such as I²C, SPI and UART are also explained in detail in this chapter. In the following chapter we will take a look at the ESP8266, the more modern ESP32 and of course the ESP32-CAM. First some theory, followed by practical examples. Indoor climate sensors for temperature and humidity, motion sensors, RFID readers and many more sensors are explained in detail in chapter 7, followed by practical examples. Chapter 8 deals with actuators such as the 7-segment display, servo motors, displays, stepper motors and much more. You can use ESPHome to integrate sensors and actuators into Home Assistant without any programming effort. In this chapter, you will be guided step by step through how to integrate your own sensors. Do you want to bring more colorful light into your living space? Then the chapter on LEDs is just right for you. The different types of LED lights are explained here and, of course, the basics of lighting technology are not forgotten. There are a lot of ICs in electronics that make our lives easier; in this chapter we get to know a few ICs and the basic knowledge is immediately put into practice. All code examples do not have to be typed out, you can download them for free from GitHub and modify them. The respective link (with QR code) can be found in the code example.
€ 39,95
Members € 31,96
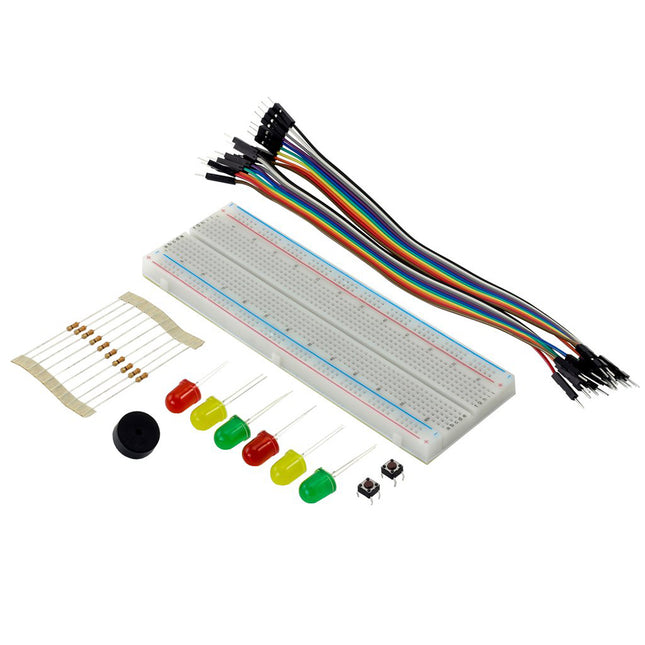
Kitronik Kitronik Discovery Kit for Raspberry Pi Pico
The kit ships with a comprehensive guide booklet. The booklet covers the basic setup and then how to complete each of the 7 experiments. Each experiment is complete with detailed circuit diagrams, explanations, and a complete code run-through. This means that you can get started without having to understand too much Python.The Raspberry Pi Pico board, a new low cost, high-performance microcontroller. The board features a powerful new, Raspberry Pi designed ARM-based dual-core chip-- the RP2040. The pico also features 64KB of internal RAM and support for up to 16MB of off-chip Flash. A wide range of flexible I/O options includes I2C, SPI, and Programmable I/O (PIO). These support endless possible applications for this small and affordable board.The kit is programmed using MicroPython. This is a full Python 3 implementation created specifically for small embedded microcontrollers, such as the Pico and the popular BBC micro:bit. You will use the Thonny editor to create your code, which can then be saved directly to the Pico from the editor via USB. Thonny is a Python Editor/IDE designed to allow beginners to get up and running with Python coding with as little fuss as possible.A power pack is not required as power will be supplied via the USB connection to the computer that the Thonny editor is running on.Features This kit offers a great introduction to microcontrollers, Python coding, and physical computing. Make the 7 experiments in the step-by-step tutorial book and learn as you go. All parts are included to conduct the 7 experiments. The kit is supplied with a detailed booklet that covers setup and then how to complete the 7 experiments. The experiments explore; simple coding, Interrupts, Threads, Digital Inputs, and Analog and Digital Outputs. Once you have completed all of the included experiments, you have the perfect prototyping system for further learning/prototyping with the Raspberry Pi Pico board. Included is a large format breadboard for ease of prototyping. The kit is supplied in re-usable packaging suitable for long term storage of the kit. Contents 1x Large Prototype Breadboard 2x Red 5mm LED 2x Yellow 5mm LED 2x Green 5mm LED 10x 330Ω Resistor 1x Piezo Element Buzzer 20x Male to Male Jumper Wires 2x Push Switches A booklet guide containing basic setup information and the following 7 experiments Exp. 1 - Show Me The Light Exp. 2 - Control an Input Exp. 3 - Interrupt Me Exp. 4 - Making a Noise Exp. 5 - So Many Interruptions Exp. 6 - Rub Head and Pat Tummy - Threads Exp. 7 - Building a System from the Blocks we have Learnt The kit is supplied in re-usable packaging suitable for long term storage of the kit. Requires USB Lead Raspberry Pi Pico Pin Headers
€ 17,95
Members € 16,16
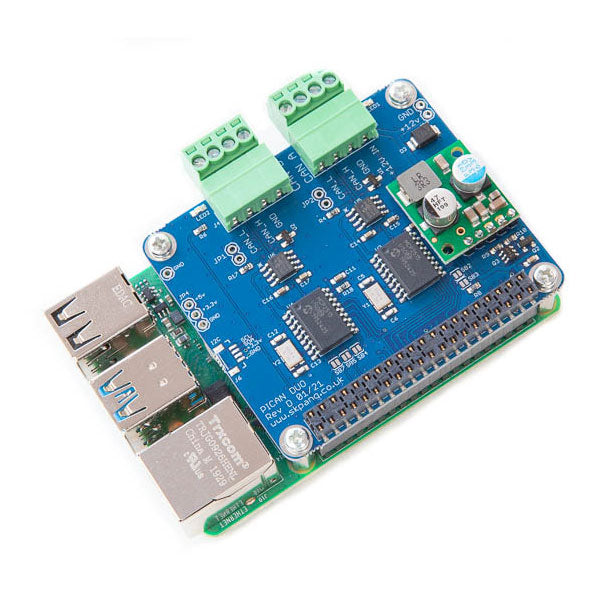
SK Pang Electronics PiCAN 2 Duo - CAN-Bus Board for Raspberry Pi 4 with 3 A SMPS
This PiCAN2 Duo board provide two independent CAN-Bus channels for the Raspberry Pi 4. It uses the Microchip MCP2515 CAN controller with MCP2551 CAN transceiver. Connections are made via 4 way screw terminal. This board has a 5 V, 3 A SMPS that can power the RPi is well via the screw terminal. Easy to install SocketCAN driver. Programming can be done in C or Python. Features CAN v2.0B at 1 Mb/s High speed SPI Interface (10 MHz) Standard and extended data and remote frames CAN connection screw terminal 120Ω terminator ready Serial LCD ready LED indicator Four fixing holes, comply with Pi Hat standard SocketCAN driver, appears as can0 and can1 to application Interrupt RX on GPIO25 and GPIO24 5 V, 3 A SMPS to power Raspberry Pi and accessories from screw terminal Reverse polarity protection High efficiency switch mode design 7 V to 24 V input range Downloads User guide Schematic Rev D Writing your own program in Python Python3 examples in Github
€ 99,95
Members € 89,96

Elektor Digital Using Displays in Raspberry Pi Projects (E-book)
Learn to program displays and GUIs with Python This book is about Raspberry Pi 4 display projects. The book starts by explaining how to install the latest Raspbian operating system on an SD card, and how to configure and use the GPIO ports. The core of the book explains the following topics in simple terms with fully tested and working example projects: Simple LED projects Bar graph LED projects Matrix LED projects Bitmap LED projects LED strips LCDs OLED displays E-paper displays TFT displays 7-inch touch screen GUI Programming with Tkinder One unique feature of this book is that it covers almost all types of display that readers will need to use in their Raspberry Pi based projects. The operation of each project is fully given, including block diagrams, circuit diagrams, and commented full program listings. It is therefore an easy task to convert the given projects to run on other popular platforms, such as Arduino or PIC microcontrollers. Python program listings of all Raspberry Pi projects developed in this book are available for download at Elektor.com. Readers can use these programs in their projects. Alternatively, they can modify the programs to suit their applications.
€ 29,95
Members € 23,96
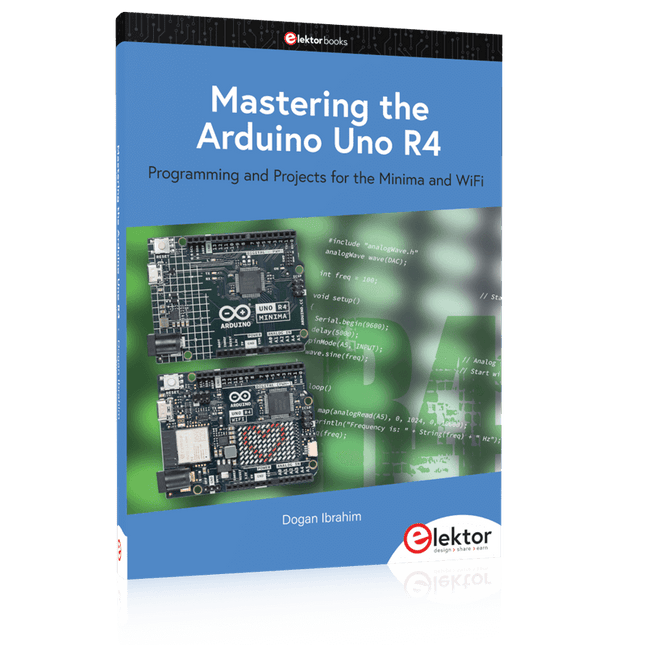
Mastering the Arduino Uno R4
Programming and Projects for the Minima and WiFiBased on the low-cost 8-bit ATmega328P processor, the Arduino Uno R3 board is likely to score as the most popular Arduino family member so far, and this workhorse has been with us for many years. Recently, the new Arduino Uno R4 was released, based on a 48-MHz, 32-bit Cortex-M4 processor with a huge amount of SRAM and flash memory. Additionally, a higher-precision ADC and a new DAC are added to the design. The new board also supports the CAN Bus with an interface.Two versions of the board are available: Uno R4 Minima, and Uno R4 WiFi. This book is about using these new boards to develop many different and interesting projects with just a handful of parts and external modules, which are available as a kit from Elektor. All projects described in the book have been fully tested on the Uno R4 Minima or the Uno R4 WiFi board, as appropriate.The project topics include the reading, control, and driving of many components and modules in the kit as well as on the relevant Uno R4 board, including LEDs 7-segment displays (using timer interrupts) LCDs Sensors RFID Reader 4×4 Keypad Real-time clock (RTC) Joystick 8×8 LED matrix Motors DAC (Digital-to-analog converter) LED matrix WiFi connectivity Serial UART CAN bus Infrared controller and receiver Simulators … all in creative and educational ways with the project operation and associated software explained in great detail.
€ 34,95
Members € 31,46
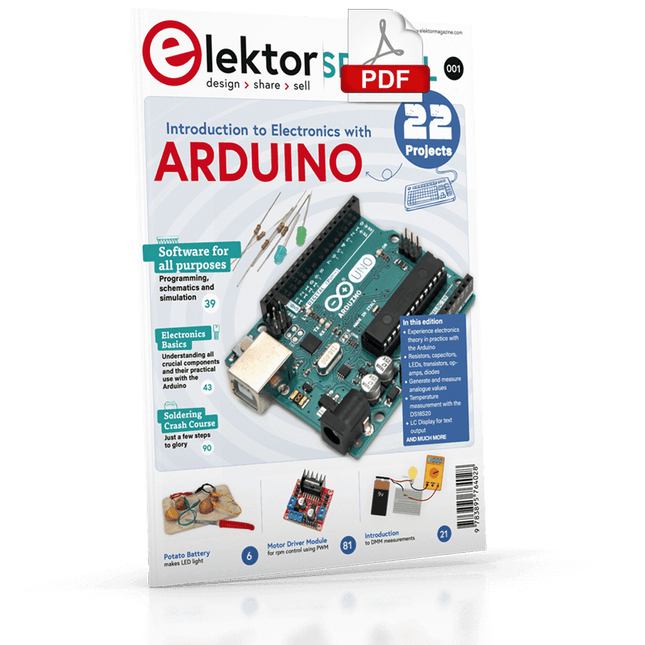
Elektor Digital Elektor Special: Introduction to Electronics with Arduino (PDF)
Although the Arduino isn’t a novelty any longer, there are still many beginners who want to try programming and development with a microcontroller, and to them, it is all new. All beginnings can be difficult, though they should be light and enjoyable. You do not need much or expensive equipment for the examples. The circuits are built on a small breadboard, and, if necessary, connected to an Arduino Uno, which you can program on a Windows PC. You will find clear examples of how to build all circuits, ensuring easy and error-free reproduction. Projects Discussed Current & Voltage – How it all began Arduino Hardware Arduino Programming The Electrical Circuit Measuring with the Multimeter Circuit Diagrams and Breadboards Creating Circuit Diagrams Breadboard Views with Fritzing Online Circuit Simulation Indispensable: Resistors (Part 1) Hands-on with Resistors (Part 2) Variable Resistors Diodes: One-way Street for Current The Transistor Switch Electromagnetism Relays and Motors op-amps: Operational Amplifiers Capacitors The NE555 Timer PWM and Analogue Values with Arduino 7-Segment Temperature Display Introduction to Soldering and LCDs
€ 11,95
Members € 10,76


