Search results for "audio h"
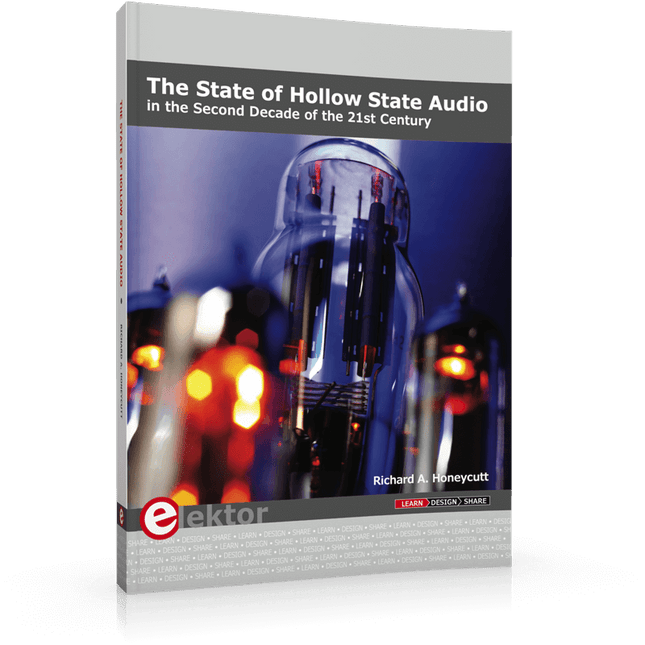
The State of Hollow State Audio
Vacuum-tube (or valve, depending upon which side of the pond you live on) technology spawned the Age of Electronics early in the 20th Century. Until the advent of solid-state electronics near mid-century, hollow-state devices were the only choice. But following the invention of the transistor (after their process fell to reasonable levels), within a couple of decades, the death of vacuum tubes was widely heralded. Yet here we are some five decades later, and hollow-state equipment is enjoying something of a comeback, especially in the music and high-end audio industries.Many issues surround hollow-state audio: Does it produce—as some claim—better sound? If so, is there science to back up these claims? How do hollow-state circuits work? How do you design hollow-state audio circuits? If hollow-state equipment fails, how do you go about troubleshooting and repairing it? Can we recreate some of the classic hollow-state audio devices for modern listening rooms and recording studios? How can we intelligently modify hollow-state amplifiers to our taste? These and other topics are covered in The State of Hollow State Audio.
€ 34,95€ 14,95
Members identical
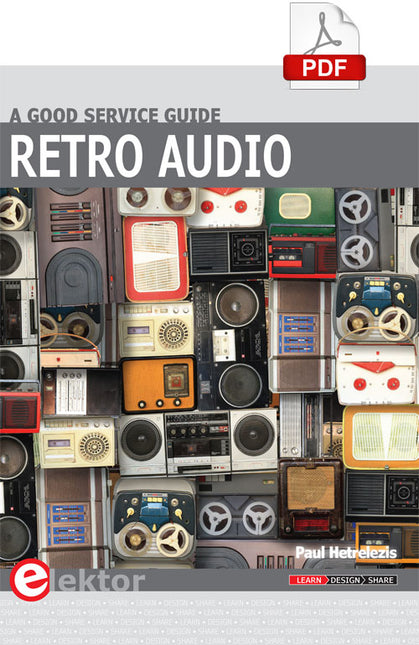
Elektor Digital Retro Audio (E-BOOK)
The intention of this e-book (pdf) is to offer the reader understandings, ideas and solutions from the perspective of a workbench technician and electronics hobbyist. It is a descriptive text with many tables of useful data, servicing tips and supplementary notes of not so common knowledge. Today there is a re-emerging, nostalgic interest in vinyl records and associated music entertainment gear. With this interest, there is a paralleled market for the repair of this gear. This ‘hands-on’ servicing guide opens with fundamental considerations of the work space of repair and servicing. This includes a comprehensive discussion of essential test equipment and tools. Two chapters are devoted to obtaining servicing information about repair and obtaining spare parts. A key chapter is on general diagnosis and testing and includes the discussion of resistance, capacitance and inductance. These electrical properties are regularly in the mind of the repairer, so understanding of them is a key objective of this e-book. The next chapter is about time saving repair techniques and ensuring quality repair. The remaining chapters discuss entertainment equipment itself. Each of the chapters begins with an orderly discussion of the theory of operation and common and not so common problems specific to the equipment. All chapters conclude with a summary.
€ 22,95
Members € 18,36
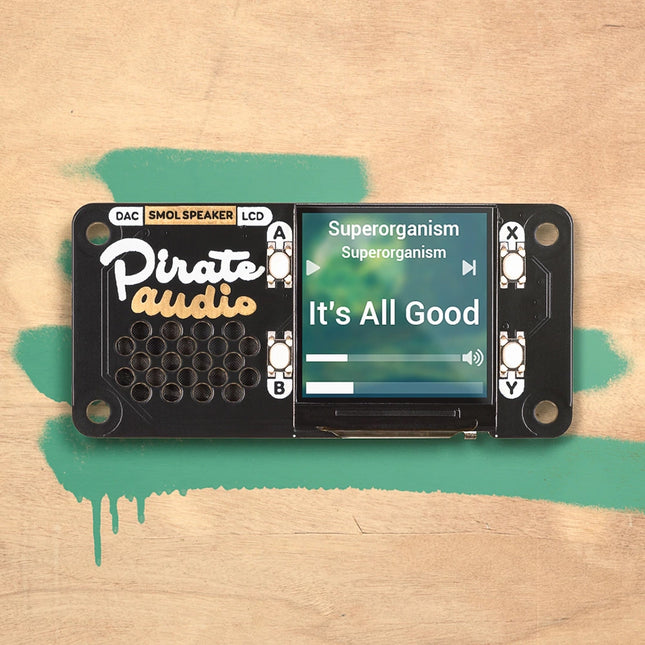
Pimoroni Pimoroni Pirate Audio: Speaker for Raspberry Pi
Pirate Audio Speaker is perfect for making a Lilliputian radio, sound effect player, or even as a teeny-weeny games console! The built-in 1W speaker isn't the loudest but it's great fun for lots of projects. The display and playback buttons let you control your audio or sound effects in a jiffy. Use Pimoroni's Pirate Audio software to play local audio files (MP3, FLAC, etc) or stream from services like Spotify. Features MAX98357A DAC / amplifier chip Mono audio Mini speaker (1W / 8Ω, attached) Push-fit speaker terminals 1.3' IPS colour LCD (240x240px) (ST7789 driver) Four tactile buttons Mini HAT-format board Fully-assembled Compatible with all 40-pin header Raspberry Pi models Pirate Audio software Dimensions: 65x30.5x9.5mm Software The Pirate Audio software and installer installs the Python library for the LCD, configures the I2S audio and SPI, and then installs Mopidy and our custom Pirate Audio plugins to display album art and track info, and to use the buttons for playback control. Here's how to get started: Set an SD card up with the latest version of Raspberry Pi OS. Connect to Wi-Fi or a wired network. Open a terminal and type the following:git clone https://github.com/pimoroni/pirate-audiocd pirate-audio/mopidysudo ./install.sh Reboot your Pi Downloads MAX98357A Datasheet Pirate Audio software
€ 26,95
Members € 24,26
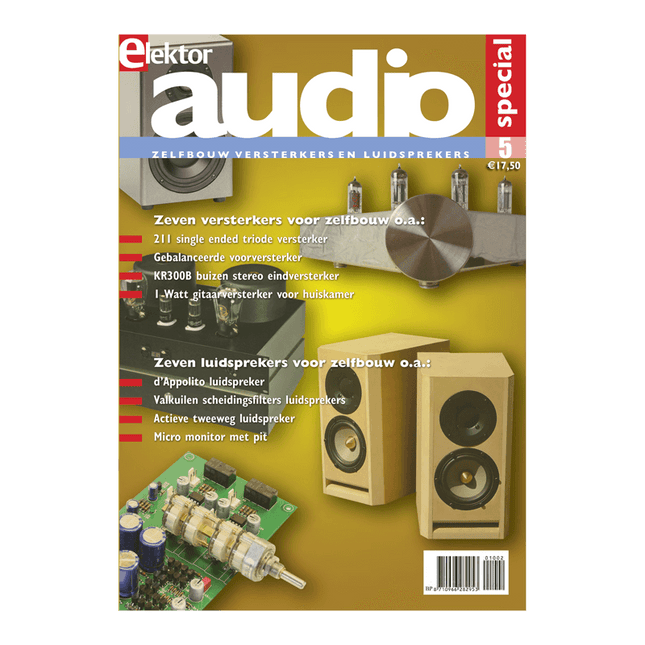
Elektor Digital Elektor Special: Audio 5 PDF (NL)
Zelfbouw versterkers en luidsprekersOok deze vijfde Audio Special staat weer vol met interessante bouwbeschrijvingen en achtergrondartikelen van internationaal gerenommeerde ontwerpers. Ook dit jaar weer de inmiddels bekende mix van buizenversterkers en luidsprekers, zodat er voor iedere zelfbouwer ongetwijfeld iets interessants te lezen of te bouwen valt. Het gaat in alle gevallen om nieuwe, nog niet eerder gepubliceerde artikelen.InhoudVersterkers Classic Three voorversterker Lijnvoorversterker met 6C33 De Dirigent – buizenvoorversterker met actief scheidingsfilter Single ended KR300B stereo eindversterker 1 Watt gitaarversterker – voor huiskamer Single ended 211 triode versterker – met interstage trafo Dieper kijken in de uitgangstransformator Prelude voorversterker – minimalisme in optima forma Klik aan, klik uit schakelaar – een netschakelaar met legio toepassingen Luidsprekers Scheidingsfilters voor luidsprekerboxen – meer valkuilen dan je lief is Morel Elite 420 – actieve tweeweg boekenplank luidspreker All back – een verrassend veelzijdige compacte TL HATT-SE MkII Micro Monitor – kleine luidspreker met pit Silverado – een d’Appolito met pit Nebular Monitor – een compacte luidspreker met een groots geluid LBVS – zelfbouwklassieker van eigen bodem Solo 201 – er is maar één weg!
€ 17,50
Members € 15,75

Elektor Digital The State of Hollow State Audio (E-book)
The State of Hollow State Audio in the Second Decade of the 21st Century Vacuum-tube (or valve, depending upon which side of the pond you live on) technology spawned the Age of Electronics early in the 20th Century. Until the advent of solid-state electronics near mid-century, hollow-state devices were the only choice. But following the invention of the transistor (after their process fell to reasonable levels), within a couple of decades, the death of vacuum tubes was widely heralded. Yet here we are some five decades later, and hollow-state equipment is enjoying something of a comeback, especially in the music and high-end audio industries. Many issues surround hollow-state audio: Does it produce—as some claim—better sound? If so, is there science to back up these claims? How do hollow-state circuits work? How do you design hollow-state audio circuits? If hollow-state equipment fails, how do you go about troubleshooting and repairing it? Can we recreate some of the classic hollow-state audio devices for modern listening rooms and recording studios? How can we intelligently modify hollow-state amplifiers to our taste? These and other topics are covered in The State of Hollow State Audio.
€ 29,95
Members € 23,96
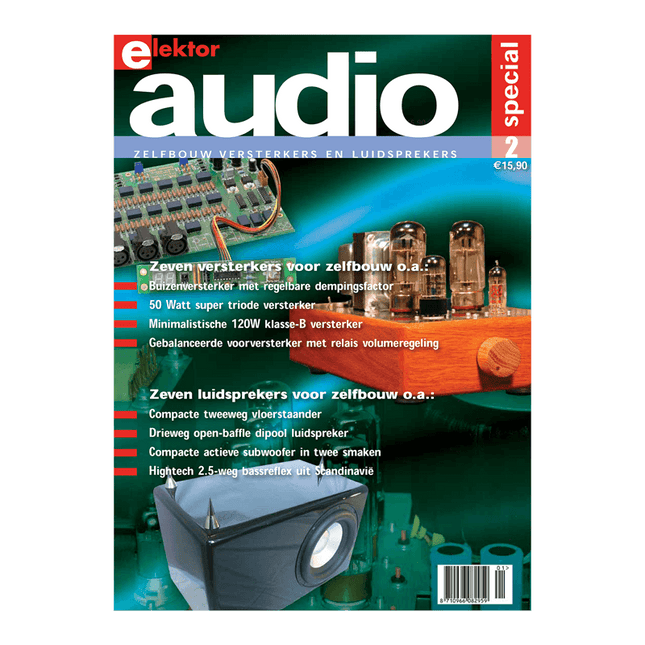
Elektor Digital Elektor Special: Audio 2 PDF (NL)
Zelfbouw versterkers en luidsprekersDeze speciale uitgave staat vol met interessante bouwbeschrijvingen en achtergrondartikelen van internationaal gerenommeerde ontwerpers. Het gaat in alle gevallen om nieuwe, nog niet eerder gepubliceerde artikelen.InhoudsopgaveBuizenversterkers 30 Watt buizenversterker met variabele dempingsfactor 50 Watt super triode versterker 300 Watt buizen eindversterker Digibias: digitaal de ruststroom instellen en bewaken Luidsprekers Paper Hatt - klein maar fijn Origami M en C – compacte actieve subwoofer in twee smaken Meerweg open baffle systemen – basistheorie, ontwerp en meetmethode Moai – hightech uit Scandinavië OB3W – drieweg open-baffle dipool van formaat 1685a – compacte tweeweg vloerstaander ScanSpeak Vertigo – duizelingwekkend mooi driewegsysteem Halfgeleiderversterkers MinimA – minimalistische 120W klasse-B versterker Gebalanceerde voorversterker met actief wisselfilter RelaiXed – gebalanceerde voorversterker met relais
€ 15,90
Members € 14,31
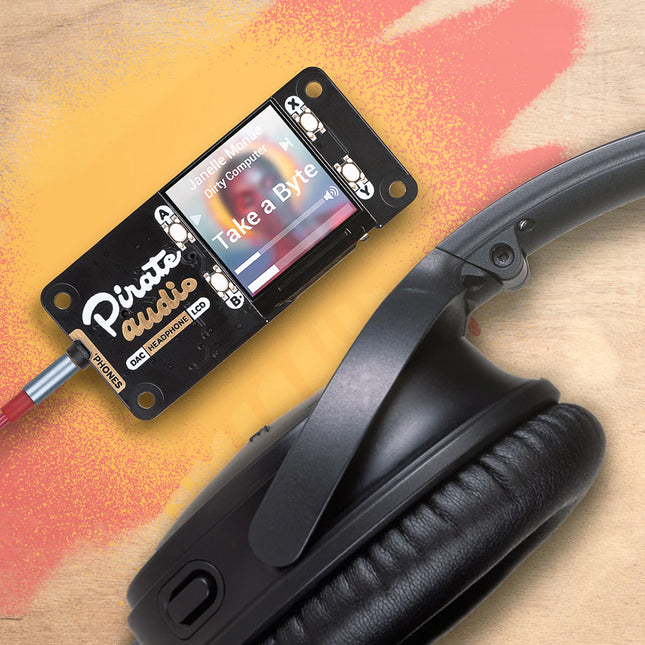
Pimoroni Pimoroni Pirate Audio: Headphone Amp for Raspberry Pi
You could use Pirate Audio Headphone Amp to build a tidy, pocket-sized player for local audio files (MP3, FLAC, etc) or for streaming music from online services like Spotify. To help get you started, Pimoroni has built plugins for Mopidy that will let you display gorgeous album art, play/pause your tracks and adjust the volume. The DAC and headphone amp will give you crisp digital amplified audio through your wired headphones. Pirate Audio is a range of all-in-one audio boards for Raspberry Pi, with high-quality digital audio, beautifully-crisp IPS displays for album art, tactile buttons for playback control, and a custom Pirate Audio software and installer to make setting it all up a breeze. Features Amplified digital audio (24-bit / 192KHz) over I2S PAM8908 headphone amplifier chip Low-gain / high-gain switch (high-gain boosts by 12dB) PCM5100A DAC chip 3.5mm stereo jack 1.3' IPS colour LCD (240x240px) (ST7789 driver) Four tactile buttons Mini HAT-format board Fully-assembled Compatible with all 40-pin header Raspberry Pi models Dimensions: 65x30.5x9.5mm Software The Pirate Audio software and installer installs the Python library for the LCD, configures the I2S audio and SPI, and then installs Mopidy and the custom Pirate Audio plugins to display album art and track info, and to use the buttons for playback control. Here's how to get started: Set an SD card up with the latest version of Raspberry Pi OS. Connect to Wi-Fi or a wired network. Open a terminal and type the following:git clone https://github.com/pimoroni/pirate-audiocd pirate-audio/mopidysudo ./install.sh Reboot your Pi Downloads PAM8908 Datasheet PCM5100A Datasheet Pirate Audio software
€ 26,95
Members € 24,26

Elektor Digital Practical Audio DSP Projects with the ESP32 (E-book)
Easy and Affordable Digital Signal ProcessingThe aim of this book is to teach the basic principles of Digital Signal Processing (DSP) and to introduce it from a practical point of view using the bare minimum of mathematics. Only the basic level of discrete-time systems theory is given, sufficient to implement DSP applications in real time. The practical implementations are described in real time using the highly popular ESP32 DevKitC microcontroller development board. With the low cost and extremely popular ESP32 microcontroller, you should be able to design elementary DSP projects with sampling frequencies within the audio range. All programming is done using the popular Arduino IDE in conjunction with the C language compiler.After laying a solid foundation of DSP theory and pertinent discussions on the main DSP software tools on the market, the book presents the following audio-based sound and DSP projects: Using an I²S-based digital microphone to capture audio sound Using an I²S-based class-D audio amplifier and speaker Playing MP3 music stored on an SD card through an I²S-based amplifier and speaker Playing MP3 music files stored in ESP32 flash memory through an I²S-based amplifier and speaker Mono and stereo Internet radio with I²S-based amplifiers and speakers Text-to-speech output with an I²S-based amplifier and speaker Using the volume control in I²S-based amplifier and speaker systems A speaking event counter with an I²S-based amplifier and speaker An adjustable sinewave generator with I²S-based amplifier and speaker Using the Pmod I²S2 24-bit fast ADC/DAC module Digital low-pass and band-pass real-time FIR filter design with external and internal A/D and D/A conversion Digital low-pass and band-pass real-time IIR filter design with external and internal A/D and D/A conversion Fast Fourier Transforms (FFT)
€ 29,95
Members € 23,96
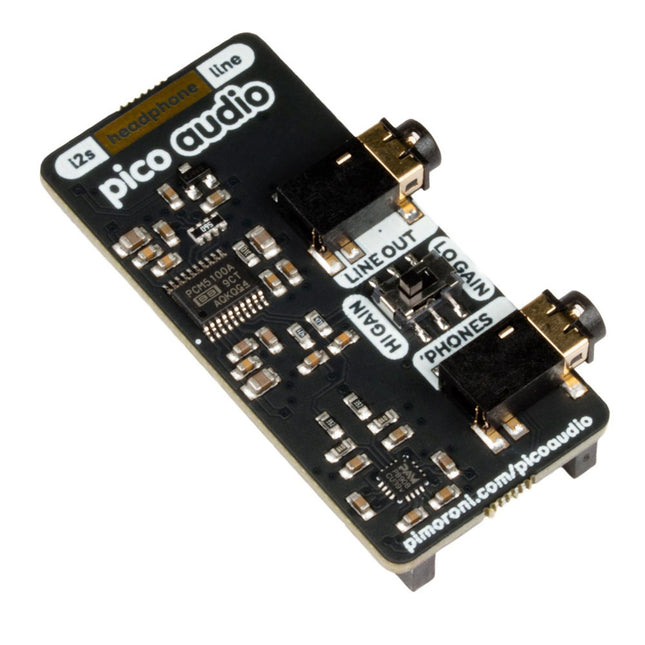
Pimoroni Pimoroni Raspberry Pi Pico Audio Pack (Line-Out and Headphone Amp)
Pico Audio Pack uses its PCM5100A DAC to output up to 32-bit, 384 KHz stereo audio along its 3.5 mm line out connector, ready for plugging into an external amp or powered speakers. If you're after something a little louder for your ears, it can also pump out amplified stereo audio from its 3.5 mm headphone jack.You could generate interesting noises with code on your Pico to output into a lo-fi synth, or hook your Pico up to another device and use it as a custom USB sound card.Features PCM5100A stereo DAC (datasheet) PAM8908JER stereo headphone amp (datasheet) 3.5 mm stereo headphone jack connector 3.5 mm stereo line out jack connector Switch to adjust headphone amp gain (low / high) Pre-soldered female headers for attaching to Pico Compatible with Raspberry Pi Pico Fully assembled No soldering required (as long as your Pico has header pins attached). Dimensions: approx 53 x 29 x 11 mm (L x W x H, including headers and audio jacks) Programmable with C/C++ The labels on the underside of Pico Audio will show you which way round to plug it into your Pico ‐ just match up the USB port with the markings on the board.
€ 19,95
Members € 17,96

Elektor Digital Modern High-End Valve Amplifiers (E-BOOK)
Valve Amplifiers are regarded by many to be the ne plus ultra when it comes to processing audio signals. The combination of classical technology and modern components has resulted in a revival of the valve amplifier. The use of toraidal-core output transformers, developed by the author over the past 15 years, has contributed to this revival. The most remarkable features of these transformers are their extremely wide frequency ranges and their very low levels of linear and nonlinear distortion. This e-book (pdf) explains the whys and wherefores of toroidal output transformers at various technical levels, starting with elementary concepts and culminating in complete mathematical descriptions. In all of this, the interactions of the output valves, transformer and loudspeaker form the central theme. Next come the practical aspects. The schematic diagram of a valve amplifier often appears to be very simple at first glance, but anyone who has built a modern valve amplifier knows that a lot of critical details are hidden behind this apparent simplicity. These are discussed extensively, in connection with designs for amplifiers with output powers ranging from 10 to 100 watts. Finally, the author gives some attention to a number of special valve amplifiers, and to the theory and practice of negative feedback. In summary, this e-book offers innovative solutions for achieving perfect audio quality. Do-it-yourself builders, as well as persons who want to gain a deeper technical understanding of the complex world of audio transformers, valve amplifiers and audio signal processing, will find this e-book a rich and useful source of information.
€ 29,95
Members € 23,96
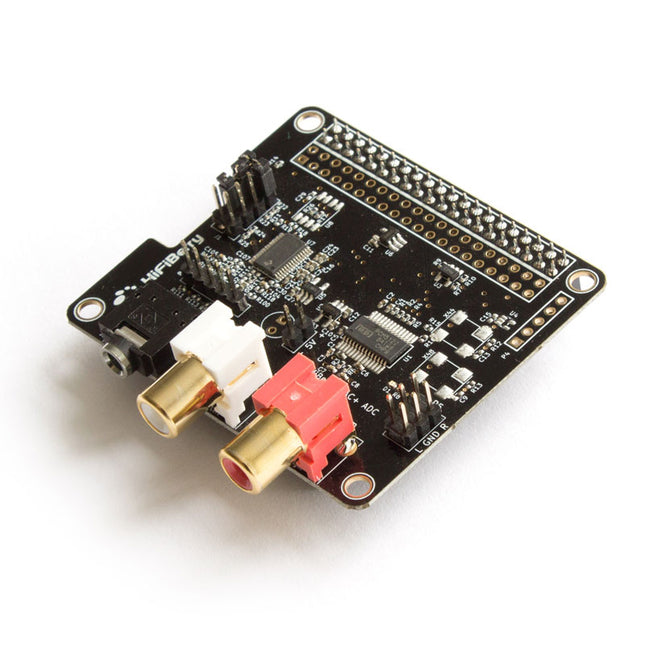
HiFiBerry HiFiBerry DAC+ ADC
Features Stereo input and output Dedicated 192 kHz / 24-bit high-quality Burr-Brown DAC Dedicated 192 kHz / 24-bit high-quality Burr-Brown ADC Hardware volume control for DAC. The output volume can be controlled using “alsamixer” or any application that supports ALSA mixer controls. Connects directly onto the Raspberry Pi. No soldering required. Compatible with all Raspberry Pi models, that have a 40-pin GPIO connector No additional power supply required. Three ultra-low-noise linear voltage regulators. HAT compliant, EEPROM for automatic configuration. Gold plated RCA output connectors. Includes 4 M 2.5 x 12 mm spacers. Analogue input, phone jack 3.5 mm Analogue output RCA Analogue output (P5) Input configuration jumper (J1) Connector for balanced input (P6) Please note: Layout and components might change without further notice. Balanced/unbalanced input connector (P6) The 5-pin connector can be used to connect a balanced input. Please note that the balanced input has to be selected with the jumpers and will always have a 12 dB gain. It shouldn't be used with line-level inputs. Pin 1 is on the left. right + right – GND left – left + Output connector (P5) The output connector realizes connections to external components like an amplifier. Pin 1 is on the top left. +5V 1 2 R GND 3 4 GND +5V 5 6 L Input gain settings (J1) The jumper block is responsible for the input configuration. It is recommended to use the default setting without additional input gain. 32 dB gain can be used to connect dynamic microphones. Jumpers are numbered from top to bottom. 1 2 3 4 function 1 0 0 – 0 dB gain 0 1 1 – 12 dB gain 0 1 0 – 32 dB gain 0 0 1 – balanced input, 12 dB gain Specifications Maximum input voltage: 2.1 Vrms - 4.2 Vrms for balanced input Maximum output voltage: 2.1 Vrms ADC signal-to-noise ratio: 110 dB DAC signal-to-noise ratio: 112 dB ADC THD+N: -93 dB DAC THD+N: -93 dB Input voltage for lowest distortions: 0.8 Vrms Input gain (configurable with Jumpers): 0 dB, 12 dB, 32 dB Power consumption: < 0.3 W Sample rates: 44.1 kHz - 192 kHz In order to use the HiFiBerry DAC + ADC, your Raspberry Pi Linux kernel must be at least version 4.18.12. Click here to learn how to update the Raspberry Pi kernel Using microphones with the DAC+ ADC The DAC+ ADC is equipped with a stereo analogue input that can be configured for a wide range of input voltages. It performs best with line-level analogue sources. However, it is also possible to use it as a microphone input. You can only use dynamic microphones. Microphones that require a power supply are not supported. The microphone output voltage is very low. This means you need to amplify it. The DAC+ ADC has the necessary pre-amplifier already equipped. You will have to set the jumpers correctly. The sound from the input won’t be played back automatically on the output. You will have to use some software that reads the input and outputs it again. Setting the correct input amplifier settings for a microphone By default, the input sensitivity is matched for line-level audio sources. This is done via a jumper on the J1 header. In order to use a microphone, the jumper needs to be set up as shown below. Audio input to output There is no direct connection between the input and the output. That leads to the input from the connected microphone to not be played back automatically. If you want to hear it on the output, you need to use the command line tool alsaloop can be used for this.
€ 89,95
Members € 80,96
Elektor Digital Hardware Projects for Raspberry Pi (E-book)
The Raspberry Pi is a $35 credit-card sized computer with many applications, such as in desktop computing, audio and video playback, and as a controller in many industrial, commercial and domestic applications. This book is about the Raspberry Pi computer and its use in control applications. The book explains in simple terms, with examples, how to configure the RPi, how to install and use the Linux operating system, how to write programs using the Python programming language and how to develop hardware based projects. The book starts with an introduction to the Raspberry Pi computer and covers the topics of purchasing all the necessary equipment and installing/using the Linux operating system in command mode. Use of the user-friendly graphical desktop operating environment is explained using example applications. The RPi network interface is explained in simple steps and demonstrates how the computer can be accessed remotely from a desktop or a laptop computer. The remaining parts of the book cover the Python programming language, hardware development tools, hardware interface details, and RPi based hardware projects. All the 23 projects given in the book have been tested and are working. The following headings are given for each project: Project title Project description Project block diagram Project circuit diagram Project program description using the Program Description Language (PDL) Complete program listing Description of the program The book is ideal for self-study, and is intended for electronic/electrical engineering students, practising engineers, research students, and hobbyists.
€ 29,95
Members € 23,96


