Elektor Circular Christmas Tree Kit

  • BrandElektor Labs

Description

DIY 3D Programmable Light Effects

This Arduino-based Christmas Tree Kit contains 36 digitally programmable 8 mm RGB LEDs (WS2812D-F8) that are individually addressable for creating impressive light effects. The LEDs can be controlled externally or by an Arduino Nano ESP32.

Features

  • 36 digital RGB LEDs (NeoPixel-addressable)
  • Suitable for any microcontroller system
  • Perfect match with Arduino Nano ESP32 (not included)
  • High-quality PCBs: 5x circular, 1x square
  • Easy, fun assembly with popular tools
  • Detailed construction manual
  • Dimensions: 136 x 136 x 175 mm

Included

  • PCB (136 x 136 mm)
  • Resistors
    • R1…R36 = 75 #, 0W125, 5%, SMD 0805
    • P1 = 10 k#, 0W1, 20%, trimmer, top adjust, 6 mm round (Piher PT6KV-103A2020)
  • Capacitors
    • C1…C36 = 100 n, 50 V, 5%, X7R, SMD 0805
    • C37, C38 = 47u, 6V3, 10%, tantalum, case size A (1206)
  • Semiconductors
    • D1, D2 = S5J-E3/57T, SMD case size SMC
    • LED1-LED36 = WS2812D-F8, 8 mm, THT
  • Others
    • K1, JP1 = Pin header, 3x1, vertical, 2.54 mm pitch
    • Shunt jumper for JP1, 2.54 mm spacing
    • K2 = MJ-179PH (Multicomp Pro), DC power connector, 4 A, pin diam. 1.95 mm
    • S1 = DIP switch, 4-way
    • PA1…PE6 = 2 m wire, 0.81 mm solid, 0.52 mm² / 20AWG, insulated green (Alpha Wire 3053/1 GR005)
    • H1…H5 = Nylon standoff, female-female, M3, 5 mm
    • H1…H5 = Nylon screw, M3, 5 mm

Optional

  • Arduino Nano ESP32 with Headers

Links

Product form

DIY 3D Programmable Light Effects This Arduino-based Christmas Tree Kit contains 36 digitally programmable 8 mm RGB LEDs (WS2812D-F8) that... Read more

Out of stock

€ 29,95€ 24,95 incl. VAT
Members identical

    Details

    SKU: 20672
    EAN: 7442105132171

    Description

    DIY 3D Programmable Light Effects

    This Arduino-based Christmas Tree Kit contains 36 digitally programmable 8 mm RGB LEDs (WS2812D-F8) that are individually addressable for creating impressive light effects. The LEDs can be controlled externally or by an Arduino Nano ESP32.

    Features

    • 36 digital RGB LEDs (NeoPixel-addressable)
    • Suitable for any microcontroller system
    • Perfect match with Arduino Nano ESP32 (not included)
    • High-quality PCBs: 5x circular, 1x square
    • Easy, fun assembly with popular tools
    • Detailed construction manual
    • Dimensions: 136 x 136 x 175 mm

    Included

    • PCB (136 x 136 mm)
    • Resistors
      • R1…R36 = 75 #, 0W125, 5%, SMD 0805
      • P1 = 10 k#, 0W1, 20%, trimmer, top adjust, 6 mm round (Piher PT6KV-103A2020)
    • Capacitors
      • C1…C36 = 100 n, 50 V, 5%, X7R, SMD 0805
      • C37, C38 = 47u, 6V3, 10%, tantalum, case size A (1206)
    • Semiconductors
      • D1, D2 = S5J-E3/57T, SMD case size SMC
      • LED1-LED36 = WS2812D-F8, 8 mm, THT
    • Others
      • K1, JP1 = Pin header, 3x1, vertical, 2.54 mm pitch
      • Shunt jumper for JP1, 2.54 mm spacing
      • K2 = MJ-179PH (Multicomp Pro), DC power connector, 4 A, pin diam. 1.95 mm
      • S1 = DIP switch, 4-way
      • PA1…PE6 = 2 m wire, 0.81 mm solid, 0.52 mm² / 20AWG, insulated green (Alpha Wire 3053/1 GR005)
      • H1…H5 = Nylon standoff, female-female, M3, 5 mm
      • H1…H5 = Nylon screw, M3, 5 mm

    Optional

    • Arduino Nano ESP32 with Headers

    Links

    Customer Reviews

    Based on 4 reviews
    0%
    (0)
    75%
    (3)
    25%
    (1)
    0%
    (0)
    0%
    (0)
    B
    Birger T.
    Lohnendes Gefrickel und guter Service

    Das als Weihnachts-Gimmick gedachte WS2812 Arrangement funktioniert gut - auch mit einem nano AVR Board. Bei uns ist der Baum über ein am nano USB angeschlossenes Steckerladegerät gelaufen.
    Der empfohlene ESP32 ist hier `etwas oversized` es sei denn, man möchte das Teil über einen Web-Server bedienen, für den es aber (noch) kein passendes Programm gibt.
    Schade auch, dass keine Erweiterungsmöglichkeit berücksichtigt wurde, wie Stiftleisten für Mikrofon- oder Lautsprecheranschluss.
    Wer seinen nano nicht einlöten möchte, benötigt noch 2 Stck. 15-polige Buchsenleisten extra dazu.
    Ein Lob an den Super Service, der mein Problem mit einer defekten LED ruckzuck gelöst hat - Nochmal Danke auf diesem Weg.

    H
    Harry
    The LED`s were difficult for me

    In the end it was a fun project, however I had troubles soldering the RGB leds. These were more difficult then the SMD parts. Funny enough what worked for me in the end was using the biggest soldering tip I have, a 5.2mm chisel point with flux and a little bit of solder. With a kind of drag soldering technique I was able to solder all 4 connections in one go without too much solder to form a bridge. I used a Arduino nano clone which I had laying around. It fits the board and with some adjustments to the demo code it worked. I recommend to test all the other rings with 3 wires to PA1, PA3 and PA5 of the base board before putting the tree together and measure for shorts on the powertraces before putting any power on them. Then use the test program to make sure all the LED`s work before continuing. Luckily the LEDS can endure some abuse. Mine survived reversed polarity and several shortcuts of both input / output to ground or 5 volts.

    D
    Dimitrijs
    Thank you, Ben Schueler

    After spending several hours meticulously examining my soldering work for flaws ? using a magnifying glass and ample lighting ? I addressed a few minor issues, yet the main problem persisted. It was only thanks to Ben Schueler`s insightful review, which highlighted an incorrect PIN connection, that I could resolve the issue successfully. I`m grateful for his keen observation.

    B
    Ben S.
    Realy nice Christmas Tree Kit with a lot of fun.

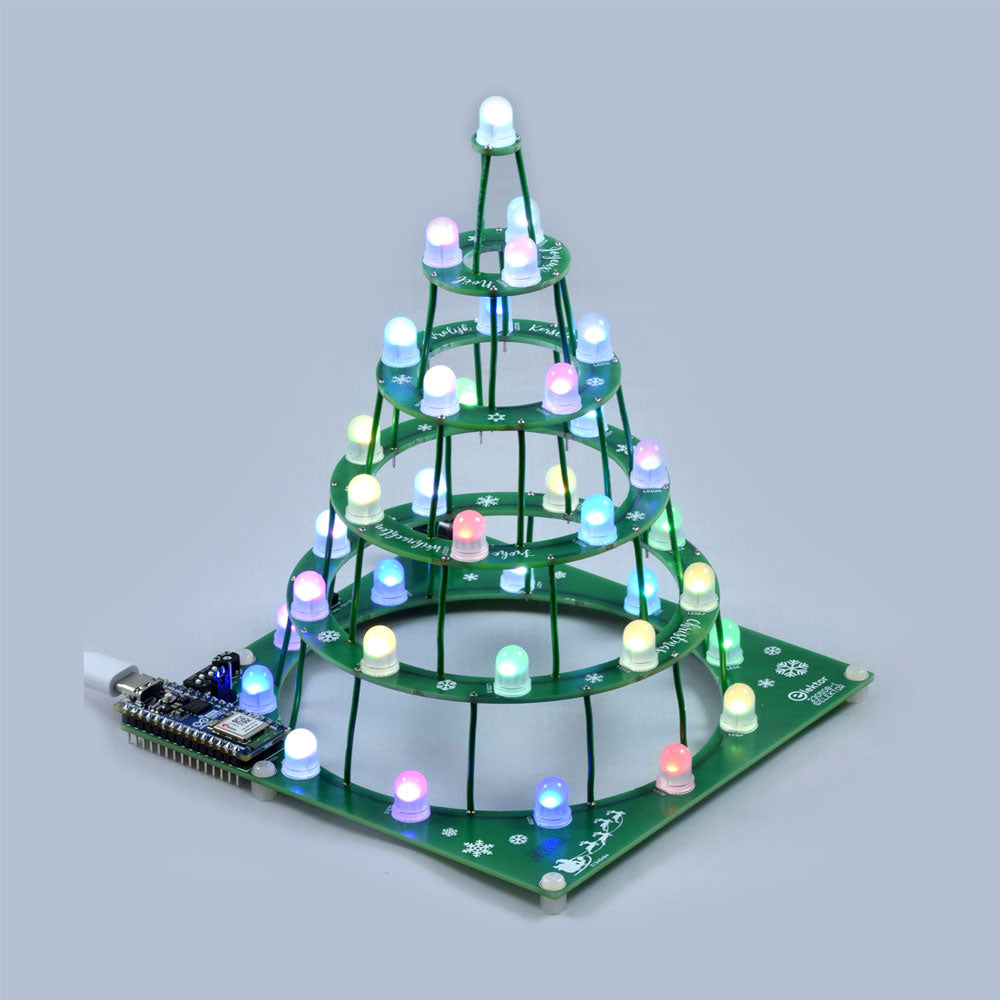
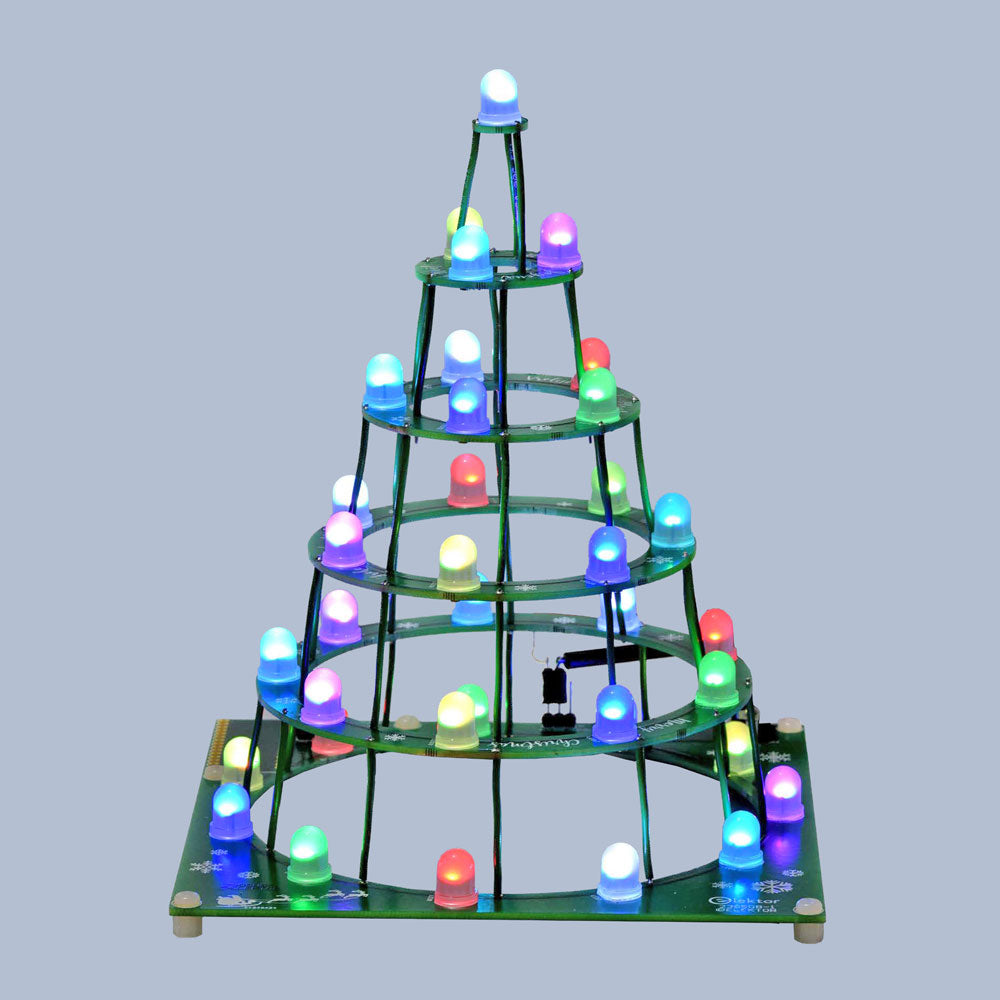
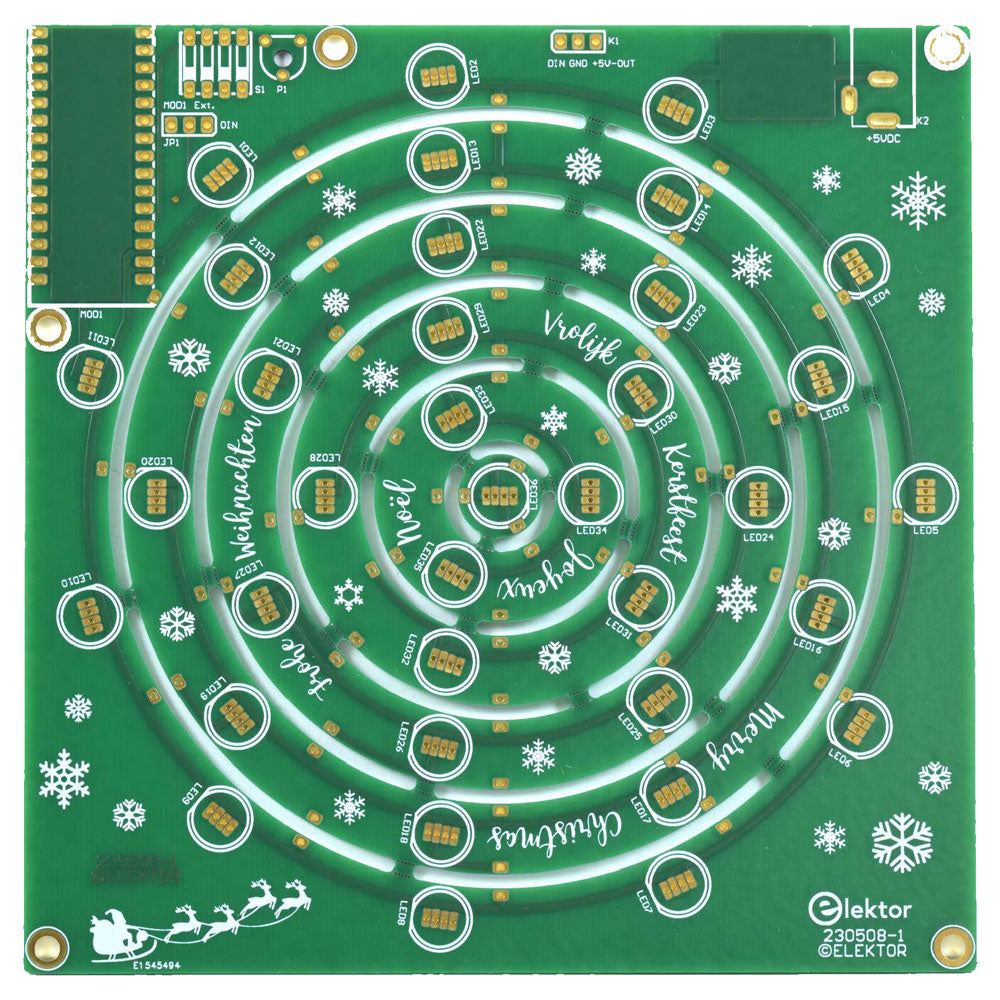
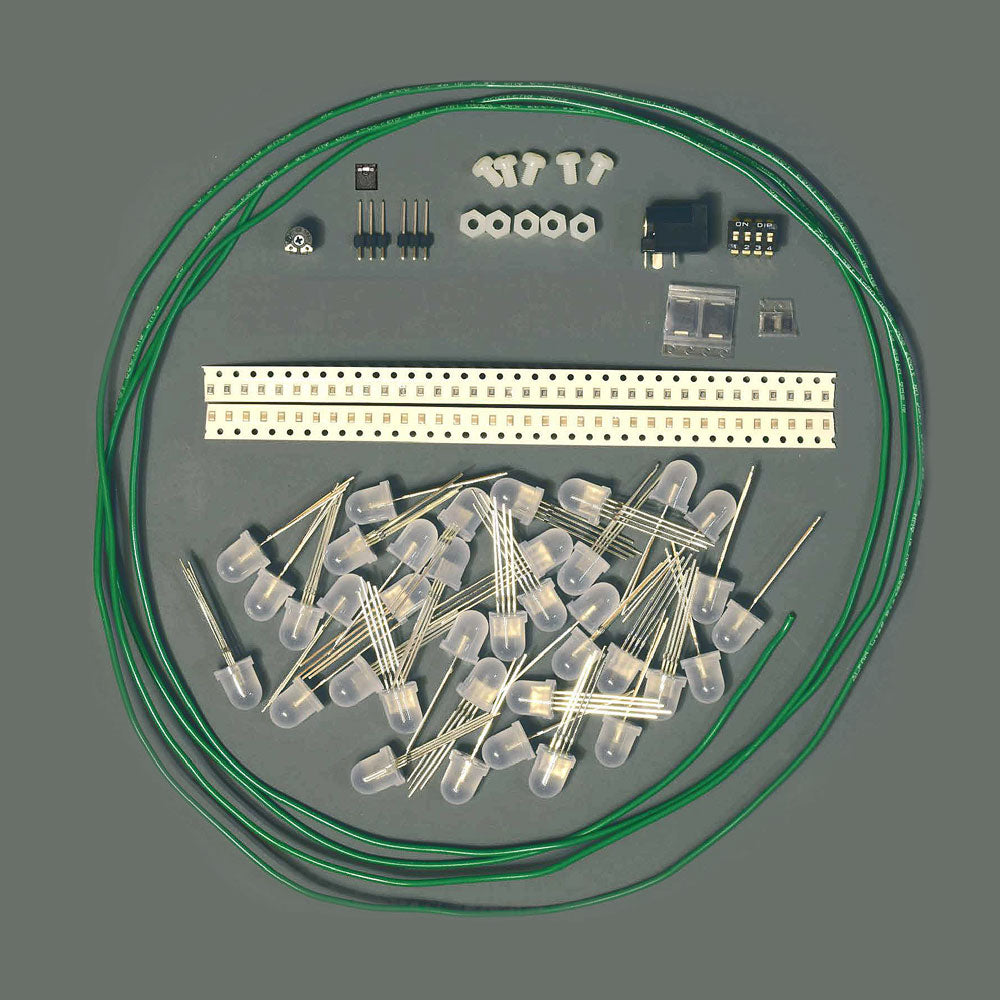
    The fun start with building the Christmas Tree. It took me like 1,5 hour to cut the wires in length, cut the legs of LEDs, breaking the PCB in pieces (be careful, I had to use a cutter to not break the PCB itself) and of-course the soldering. Before I soldered the wires between the PCBs, I checked with a programmed Nano ESP32 if the LEDs worked before I connected the next layer.
    When using the Nano ESP32 there are some links for microPython but I was not able to get it to work.
    I used Arduino 1.8.x with the Adafruit Neopixels library. But to be able to program the example `strandtest` I had to do 2 things. First, install via boardmanager the Arduino Nano ESP32. There was already one installed but it cannot program the Nano ESP32. After installing the Arduino Nano ESP32 this issue was fixed.
    Second one is to set Tolols->Pin numbering->By GPIO Number (legacy) and change the define for LED_PIN to 9.
    #define LED_PIN 9 // GPIO9.
    When done, select the correct com port and program the Nano ESP32 processor.
    The example is a good starting point for your own program. I added the potmeter for speed and the dip switches tor select wich pattern to show.
    I am going to add an LDR to adjust the brightness of the LEDs (make sure the LDR has no (in)direct light path with the LEDs).

    Recently viewed products

    Login

    Forgot password?

    Don't have an account yet?
    Create an account